What Is Birthday Cake Ice Cream?
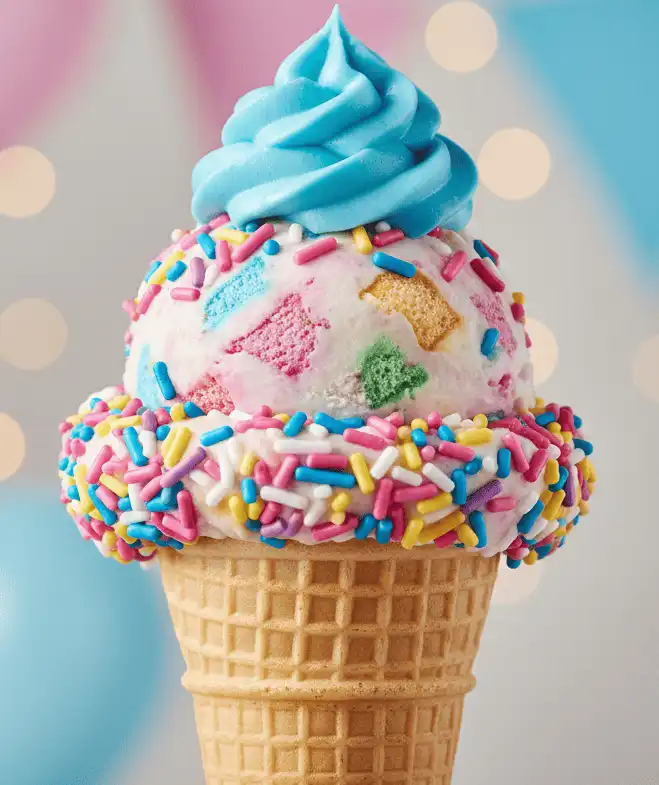
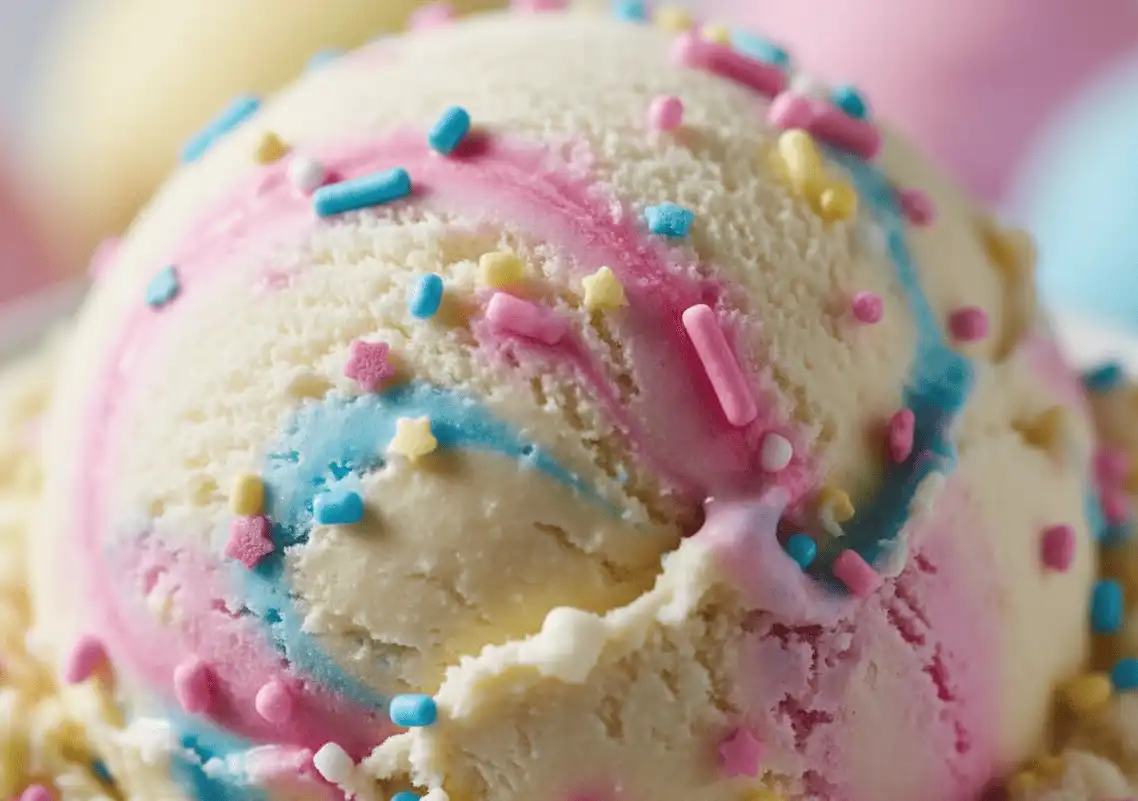
Birthday cake ice cream is a specialty frozen dessert designed to replicate the sweet, nostalgic taste of classic yellow cake batter and sweet vanilla frosting. The base combines rich dairy with aromatic vanilla, cultured butter notes, and heat-treated flour or dry cake mix. It is customarily studded with rainbow sprinkles (jimmies) and swirled with blue or pink buttercream ribbons.
Unlike standard vanilla ice cream, authentic birthday cake ice cream features distinct undertones of almond extract, caramelized sugar, and butter emulsion. These aromatic compounds create an unmistakable raw cake batter profile without relying on raw, uncooked ingredients.
- Base: Sweet cream, yellow cake notes, pure vanilla, and subtle almond.
- Inclusions: Wax-coated rainbow sprinkles that resist melting into the base.
- Swirl: Sweet buttercream frosting or real cake crumble ribbons.
Every year, millions of families search for the perfect centerpiece dessert to celebrate milestones. Birthday cake ice cream has transformed from a quirky scoop-shop novelty into an international dessert staple.
Whether you are a parent planning a stress-free birthday party, an ice cream lover seeking the creamiest pint, or a home baker ready to churn a custom batch, this comprehensive guide has you covered. You will discover the food chemistry that creates that iconic batter flavor, explore top-tier store brands, and master professional-grade recipes in your home kitchen.
The Food Science of Cake Batter Flavor
Replicating the flavor of raw cake batter in a frozen dairy matrix requires specific aromatic chemistry. Freezing dulls human taste buds, meaning cold desserts need stronger aromatic compounds than room-temperature baked goods.
The foundation rests on three aromatic pillars: vanillin, dairy diacetyl (the compound responsible for rich butter flavor), and trace amounts of benzaldehyde. Benzaldehyde provides that faint, comforting cherry-almond aroma characteristic of boxed yellow cake mixes.
The Role of Cultured Butter and Vanilla
Standard vanilla ice cream relies primarily on ethyl vanillin and pure Bourbon vanilla beans. Cake batter bases require a rounded profile combining sweet cream with cultured butter extracts.
Food scientists use natural butter emulsions that remain volatile at sub-zero temperatures. This allows the creamy fat flavor to coat the tongue before the frozen crystals melt away.
Flour Safety: Why Heat Treatment Is Non-Negotiable
Classic cake mix relies on raw wheat flour. Raw flour is an agricultural commodity that has not been treated to kill foodborne pathogens such as Escherichia coli and Salmonella.
Never add unbaked cake mix or raw flour straight into an ice cream churn. Commercial processors and home cooks must heat-treat dry flour to at least 165°F (74°C) to eliminate bacterial risks while preserving the starch structure that thickens the ice cream.
The Science of Sprinkles: Preventing Color Bleed
One of the most common home-churning disasters is opening the freezer to find muddy grey ice cream. This aesthetic catastrophe stems from choosing the wrong type of rainbow sprinkle.
Ice cream bases maintain high moisture levels before full deep-freezing occurs. Water-soluble food dyes rapidly dissolve if the sugar shell lacks a protective moisture barrier.
Jimmies vs. Nonpareils vs. Confetti Quins
Understanding sprinkle anatomy ensures vibrant colors stay locked inside every bite rather than bleeding into the white cream base.
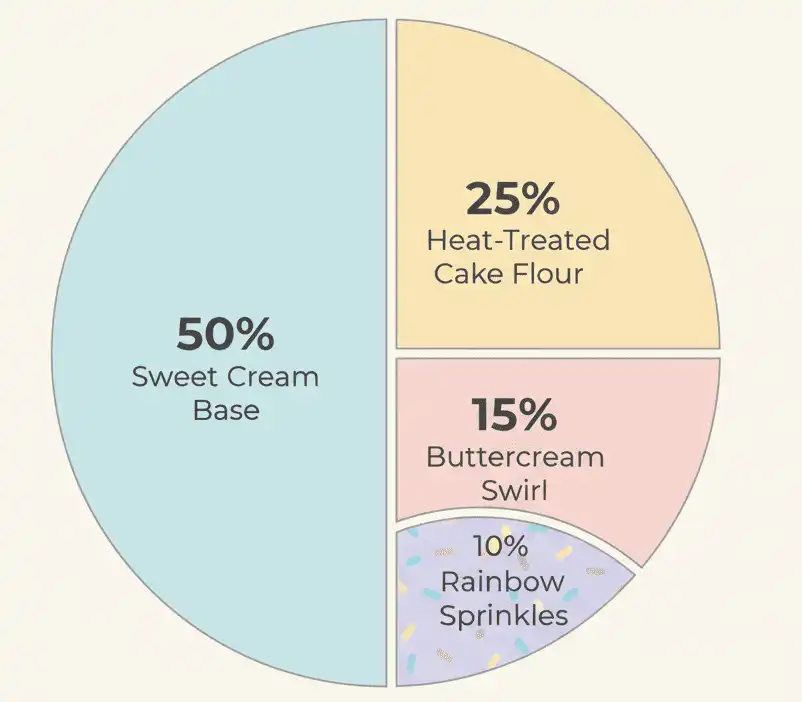
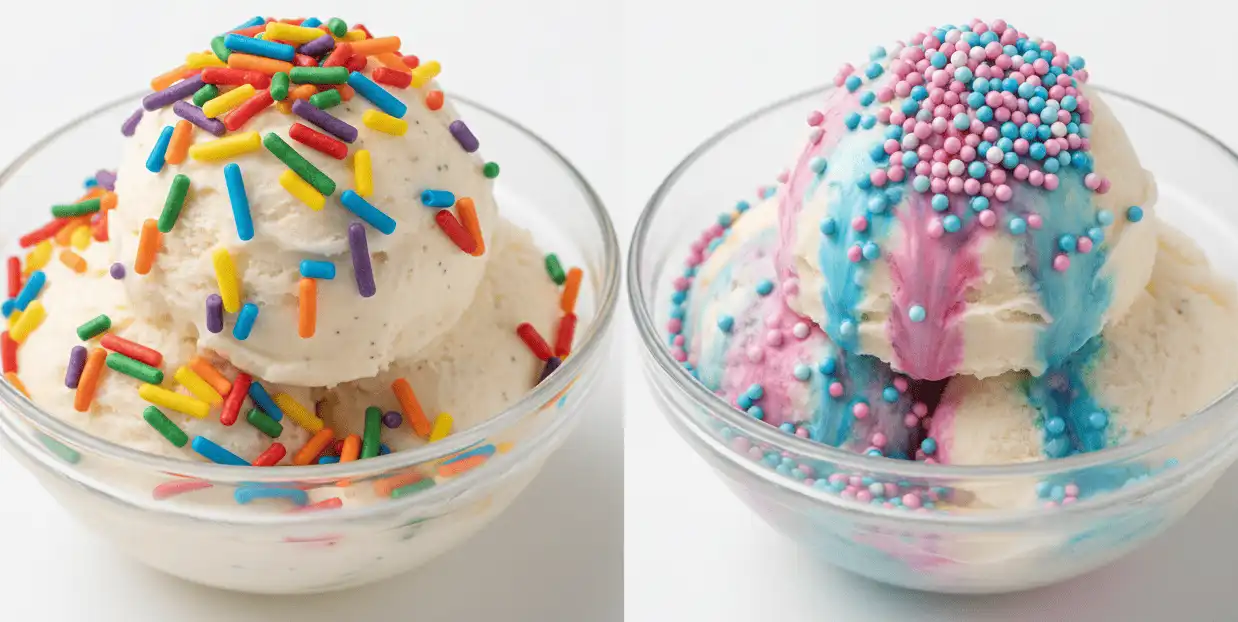
- Rainbow Jimmies (Recommended): Long, cylindrical sprinkles coated with confectioner’s glaze or carnauba wax. This edible wax barrier repels liquid and prevents dye migration during churning and hardening.
- Nonpareils (Avoid): Tiny round sugar balls colored with unprotected topical dyes. They dissolve within minutes in liquid cream, turning your entire base into an unappealing murky grey.
- Sequins / Quins (Safe Alternative): Flat, disk-shaped sprinkles made from sugar, cornstarch, and hydrogenated oils. They hold their shape and resist melting, though they remain firmer when frozen.
Top Commercial Brands Reviewed
When you lack the time to churn from scratch, grocery store freezers offer several distinct interpretations of birthday cake ice cream. Major creameries approach the balance of sweetness, inclusions, and base texture differently.
Ben & Jerry’s: Cake Batter
Ben & Jerry’s emphasizes heavy density and low overrun. Their variation utilizes a pronounced yellow cake batter ice cream packed with generous swirls of chocolate frosting and yellow cake chunks.
The flavor leans deeply into rich, sweet cocoa accents, making it ideal for those who prefer chocolate-frosted birthday cakes over plain vanilla frosting.
Jeni’s Splendid Ice Creams: Buttercream Birthday Cake
Jeni’s takes an artisanal approach focused on natural dairy quality. Rather than relying on artificial boxed mix flavors, this version uses grass-fed cream, real Madagascar vanilla, and scratch-made sponge cake crumbles folded with buttercream ribbons.
It contains vibrant sprinkles colored with natural plant extracts such as spirulina, beet juice, and turmeric. The sweetness remains balanced rather than cloying.
Tillamook: Birthday Cake
Tillamook leverages its high-butterfat extra-creamy base to deliver a silky mouthfeel. The brand features a cake batter base loaded with soft cake pieces and crunchy rainbow sprinkles.
Because Tillamook uses lower air overrun, this pint feels exceptionally rich and holds up well against warm slices of birthday cake.
Turkey Hill & Blue Bunny: The Nostalgic Party Tubs
These classic brands cater directly to kids’ birthday parties. Turkey Hill’s Party Cake blends vanilla-flavored cake base with blue vanilla frosting swirls and multi-colored sprinkles.
Blue Bunny delivers a fluffier, higher-overrun scoop that stays soft straight out of the freezer. Both options offer budget-friendly value when feeding a crowd.
Birthday Cake Ice Cream vs. Ice Cream Cakes
Parents and party planners often confuse birthday cake ice cream with ice cream cakes. Choosing the right option depends on your venue, guest count, and service timeline.
Physical Ice Cream Cakes
An ice cream cake is a structural dessert featuring stacked layers of baked sponge cake and firm ice cream, separated by cookie crumbs or fudge ribbons. The exterior is frosted with whipped icing or stabilized whipped cream.
They require precise freezer temperatures, a sturdy cake board, and careful slicing with a hot chef’s knife. If left out for more than twenty minutes, structural collapse is inevitable.
Scooped Birthday Cake Ice Cream
Scooped birthday cake ice cream provides all the flavor components of cake, frosting, and sprinkles homogenized into a single tub. It offers unmatched flexibility for serving large groups.
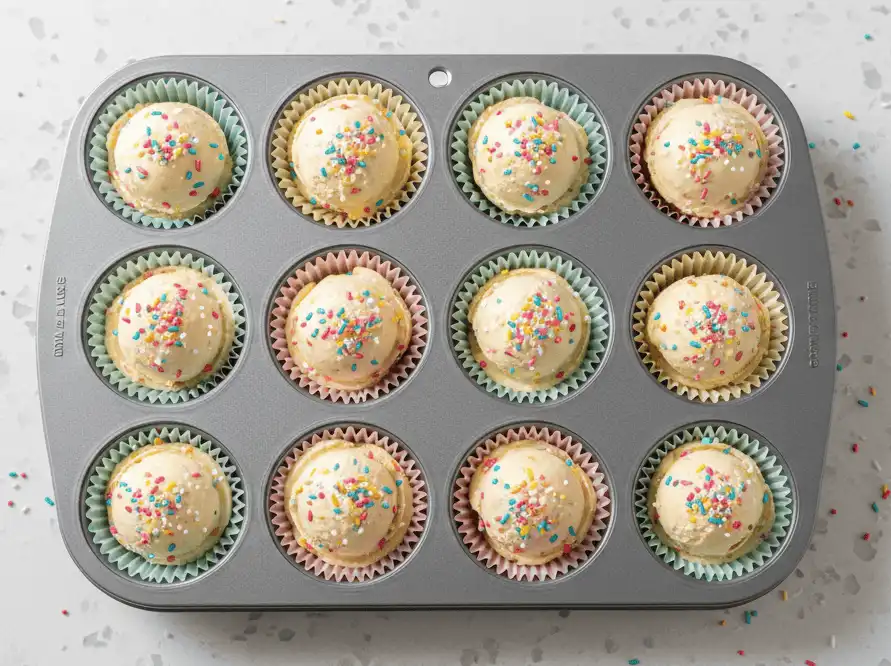
Hosts can pre-scoop portions into muffin tins lined with parchment cups days before the party. When dessert time arrives, simply transfer individual cups to plates without wrestling a frozen cake block.
Step-by-Step Guide: Churned Birthday Cake Ice Cream from Scratch
This scratch-made custard recipe yields one quart of dense, premium ice cream with a genuine bakery flavor profile.
Ingredients Required
- 2 cups (480 ml) heavy whipping cream (minimum 36% butterfat)
- 1 cup (240 ml) whole milk
- 3/4 cup (150 g) granulated white sugar
- 4 large egg yolks
- 1/2 cup (60 g) yellow cake mix (heat-treated)
- 1 1/2 teaspoons pure vanilla extract
- 1/4 teaspoon pure almond extract
- 1/4 teaspoon fine sea salt
- 1/2 cup rainbow jimmies (divided)
- 1/3 cup prepared vanilla buttercream frosting (tinted blue or pink)
Step 1: Heat-Treat the Cake Mix
Preheat your oven to 350°F (175°C). Spread the dry yellow cake mix evenly across a parchment-lined rimmed baking sheet.
Bake for 5 to 7 minutes until an instant-read thermometer registers at least 165°F (74°C) across multiple spots. Allow the mix to cool completely at room temperature, then sift to remove any heat-induced clumps.
Step 2: Temper the Custard Base
In a medium saucepan, whisk together the whole milk, 1 cup of heavy cream, granulated sugar, salt, and sifted cake mix. Place over medium heat until the mixture begins to steam gently (around 160°F / 71°C).
In a separate heatproof bowl, whisk the egg yolks until smooth. Slowly ladle half a cup of the hot dairy mixture into the egg yolks while whisking vigorously to temper the eggs without scrambling them.
Step 3: Thicken and Strain
Pour the tempered egg mixture back into the saucepan. Cook over medium-low heat, stirring constantly with a flat-edged silicone spatula, until the custard reaches 175°F (80°C) and coats the back of a spoon.
Immediately strain the custard through a fine-mesh sieve into a clean bowl containing the remaining 1 cup of cold heavy cream. Stir in the vanilla and almond extracts.
Step 4: Deep Chill
Press a sheet of plastic wrap directly onto the surface of the custard to prevent a skin from forming. Chill in the refrigerator for at least 4 hours, or preferably overnight, until the base drops below 40°F (4°C).
Chilling matures the fat emulsion and allows the starches in the cake mix to hydrate properly, ensuring a velvety texture during churning.
Step 5: Churn to Perfection
Pour the chilled base into your frozen ice cream machine bowl. Churn according to the manufacturer’s instructions, typically 20 to 25 minutes, until it reaches soft-serve consistency.
During the final 60 seconds of churning, add two-thirds of the rainbow jimmies to distribute them evenly without stripping their wax coating.
Step 6: Layer the Frosting Swirl and Freeze
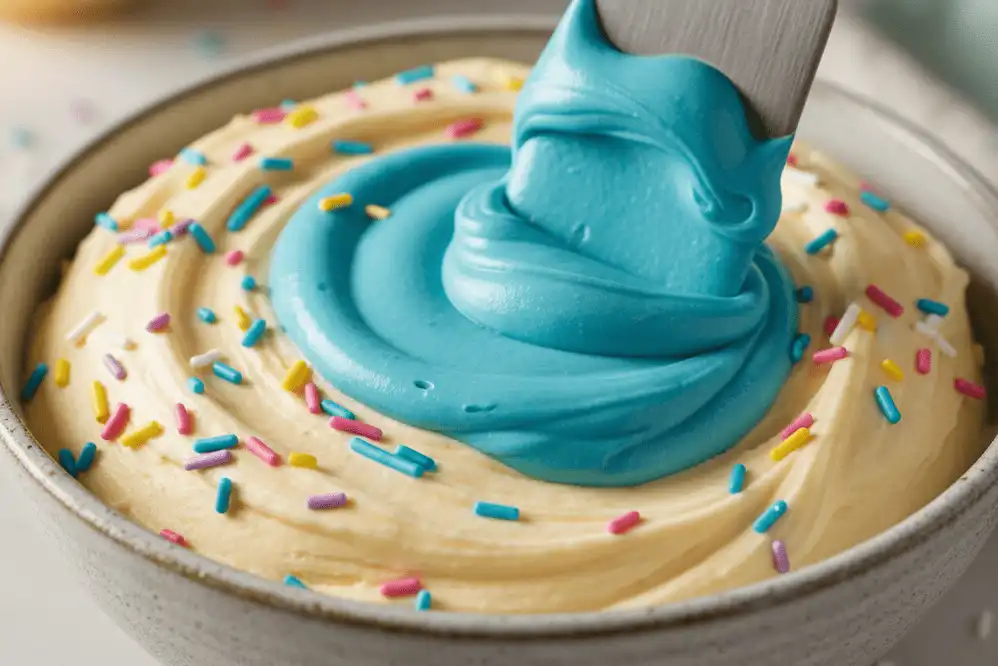
Transfer one-third of the soft ice cream into an airtight, freezer-safe container. Dollop small spoonfuls of the tinted buttercream frosting and sprinkle a few remaining jimmies across the surface.
Repeat the layers twice more, finishing with sprinkles on top. Use a butter knife to gently cut through the container once in an S-pattern to ribbon the frosting. Freeze for at least 4 to 6 hours before scooping.
Easy No-Churn Alternative Method
If you do not own an electric ice cream machine, you can achieve remarkable creaminess using a whipped cream and condensed milk emulsion. This method eliminates egg tempering while preserving dense richness.
No-Churn Ingredients
- 2 cups (480 ml) cold heavy whipping cream
- 1 can (14 oz / 396 g) sweetened condensed milk
- 1/2 cup (60 g) heat-treated yellow cake mix
- 1 teaspoon pure vanilla extract
- 1/4 teaspoon almond extract
- 1/2 cup rainbow jimmies
- 1/3 cup prepared vanilla frosting
Step-by-Step No-Churn Process
In a large mixing bowl, whisk together the sweetened condensed milk, heat-treated cake mix, vanilla extract, and almond extract until fully blended and lump-free.
In a chilled metal bowl, whip the heavy cream using a hand mixer or stand mixer until stiff peaks form. Be careful not to overwhip the cream into butter.
Gently fold one-third of the whipped cream into the condensed milk mixture to lighten it. Fold in the remaining whipped cream and the rainbow jimmies using slow, sweeping strokes until no white streaks remain.
Spoon the airy mixture into a chilled metal loaf pan, alternating with dollops of buttercream frosting. Cover tightly with two layers of plastic wrap and freeze for at least 6 hours until firm.
Preparation Methods Compared
Selecting the right method depends on your timeline, equipment, and texture preferences. The table below outlines how traditional churning compares to alternative approaches.
| Method | Butterfat Content | Overrun (Air) | Prep Time | Texture Profile | Equipment Needed |
|---|---|---|---|---|---|
| French Custard (Churned) | 16% – 18% | 20% – 30% (Dense) | 45 mins + chilling | Velvety, slow-melting | Ice Cream Churner, Thermometer |
| Condensed Milk (No-Churn) | 14% – 16% | 40% – 50% (Fluffy) | 20 mins + freezing | Airy, quick-melting | Electric Hand Mixer, Loaf Pan |
| Commercial Premium Pints | 14% – 16% | 20% – 40% | 0 mins | Extremely smooth, elastic | None (Store-bought) |
| Commercial Party Pails | 10% – 12% | 80% – 100% (High air) | 0 mins | Light, soft, fast scoop | None (Store-bought) |
Pro Tips and Advanced Edge Cases
Professional ice cream makers adjust formulas to handle specific dietary restrictions, freezing dynamics, and presentation needs.
Gluten-Free Birthday Cake Ice Cream
You can easily adapt this recipe for guests with celiac disease or gluten sensitivities. Substitute the standard yellow cake mix with a certified gluten-free yellow cake mix in an identical 1:1 ratio.
Gluten-free starches (typically rice flour, potato starch, and tapioca) still require heat-treatment to eliminate bacteria. They absorb liquid more aggressively, yielding an even thicker custard base.
Dairy-Free and Vegan Adaptations
To produce a rich vegan birthday cake ice cream, replace heavy cream and whole milk with full-fat canned coconut cream and barista-style oat milk. Coconut provides necessary solid fats, while oat milk offers neutral natural sweetness.
Use vegetable oil-based yellow cake mix and confirm your rainbow sprinkles use carnauba wax rather than insect-derived confectioner’s glaze (shellac).
Preventing Rock-Hard Buttercream Swirls
Standard room-temperature frosting turns unpleasantly hard and waxy when frozen. The high concentration of saturated fats in butter freezes solid below 32°F (0°C).
To keep your buttercream ribbons pliable and chewy, thin your frosting with one tablespoon of light corn syrup or honey before swirling. The inverted sugars depress the freezing point, maintaining a soft texture.
Common Pitfalls and How to Avoid Them
Small technical missteps can derail the texture and presentation of homemade ice cream. Avoid these frequent issues during preparation.
Mistake 1: Adding Sprinkles at the Beginning of the Churn
Pouring sprinkles into the machine when the base is still liquid destroys the wax coating through friction against the churn dasher. The dyes wash out, leaving you with dull grey ice cream.
Solution: Only add jimmies during the last 60 seconds of churning, or fold them in by hand alongside your frosting ribbons.
Mistake 2: Skipping the Fine-Mesh Sieve
Dry cake mix contains leavening agents and starches that can form stubborn micro-clumps when exposed to hot liquid. Egg proteins can also form tiny curd specks during tempering.
Solution: Always pour your cooked base through a fine-mesh strainer into your clean cream bowl. This guarantees an impeccably smooth final texture.
Mistake 3: Churning a Warm Base
Pouring lukewarm custard into your ice cream machine quickly thaws the freezer bowl walls. This produces massive ice crystals and a grainy, unpleasant mouthfeel.
Solution: Chill the base until it registers below 40°F (4°C). The colder the mix enters the churn, the smaller the ice crystals will be.
Storage and Party Serving Best Practices
Ice cream quality drops rapidly when exposed to fluctuating freezer temperatures. Proper storage preserves that scoop-shop texture for weeks.
Eliminating Freezer Burn
Freezer burn occurs when moisture evaporates from the surface of the ice cream and recrystallizes as ice on top. Air exposure ruins the silky mouthfeel of your batch.
Press a piece of wax paper or parchment paper directly against the surface of the ice cream before sealing the lid. Store the container in the coldest back corner of your deep freezer, never in the door where temperatures fluctuate.
Party Scooping Strategy
When hosting a gathering, scooping ten to twenty bowls at dessert time causes delays and melts the first servings. Use the pre-scoop technique instead.
Line a baking sheet with cupcake liners twenty-four hours before the event. Scoop clean portions into each liner and return the tray to the freezer. At dessert time, simply lift individual portions onto plates with zero mess.
Recommended Equipment and Ingredients
Investing in dependable kitchen tools makes ice cream production reliable and enjoyable.
- Compressor Ice Cream Maker: Self-refrigerating models eliminate the hassle of pre-freezing bowls for 24 hours, allowing back-to-back batches.
- Digital Instant-Read Thermometer: Essential for verifying flour heat-treatment safety (165°F / 74°C) and egg yolk cooking (175°F / 80°C).
- Shallow Insulated Storage Tubs: Long, shallow containers allow easy sweeping scoops with a standard ice cream spade.
- Natural Bakery Emulsions: Professional butter-vanilla emulsion provides concentrated aroma without the harsh alcohol evaporation of budget extracts.
Food Safety and Technical References
For additional reading on dairy standards, flour pasteurization, and home preservation safety, consult these official resources:
- U.S. Food and Drug Administration (FDA): Handling Flour Safely: What You Need to Know — Official consumer guidance on eliminating foodborne pathogens in raw flour.
- U.S. Department of Agriculture (USDA): Egg Safety and Tempering Guidelines — Safe internal temperatures for egg custard preparations.
- International Dairy Foods Association (IDFA): Ice Cream Labeling and Butterfat Standards — Regulatory definitions regarding overrun and dairy solids.
Key Takeaways
- Flavor Profile: Authentic birthday cake ice cream balances sweet cream, yellow cake flour notes, rich butter emulsion, and pure vanilla.
- Food Safety First: Always heat-treat raw flour or dry boxed cake mix to at least 165°F (74°C) before blending it into unbaked bases.
- Sprinkle Selection: Use wax-glazed rainbow jimmies to prevent dye bleed. Never use nonpareils in wet ice cream batter.
- Frosting Consistency: Add a dash of corn syrup to buttercream swirls to keep them chewy and scoopable rather than rock-hard when frozen.
- Versatile Methods: Choose the traditional churned egg custard for dense decadence, or the no-churn condensed milk method for effortless assembly.
Make Your Next Celebration Unforgettable
Birthday cake ice cream brings genuine joy to any gathering. It captures the comforting spirit of home-baked cake and elevates it into a refreshing, creamy frozen treat.
Whether you choose to stock up on premium grocery pints or churn your own signature recipe studded with custom sprinkles, you now possess the technical know-how to deliver dessert perfection. Gather your ingredients, chill your bowls, and create a celebration dessert that guests will talk about long after the candles are blown out.
Frequently Asked Questions
What does birthday cake ice cream taste like?
Birthday cake ice cream tastes like sweet cream combined with rich yellow cake batter, pure vanilla, and rich butter. It has a slightly richer, more aromatic flavor than standard vanilla, with subtle notes of almond and sweet buttercream frosting ribbons running throughout.
Is it safe to put dry cake mix in homemade ice cream?
Dry cake mix is only safe if you heat-treat it first. Uncooked flour in commercial cake mix can harbor bacteria like E. coli. Bake the dry mix at 350°F (175°C) for 5 minutes until it reaches 165°F (74°C) before adding it to your base.
What is the difference between cake batter and birthday cake ice cream?
Cake batter ice cream focuses primarily on the flavor of unbaked yellow or white cake batter within the base. Birthday cake ice cream builds on this by adding party inclusions, specifically colorful rainbow jimmies and ribbons of blue or pink vanilla frosting.
Why did my sprinkles bleed color into the ice cream?
Sprinkles bleed when their sugar coating dissolves in the moisture of the unfrozen base. This happens if you use nonpareils (tiny round sugar balls) or add rainbow jimmies too early in the churning process. Always fold jimmies in at the very end.
Can I make birthday cake ice cream without an ice cream maker?
Yes. You can make an easy no-churn version by whipping two cups of heavy cream to stiff peaks, then folding in a can of sweetened condensed milk, heat-treated cake mix, vanilla extract, and sprinkles. Freeze in a loaf pan for six hours.
How long does homemade birthday cake ice cream last in the freezer?
Homemade birthday cake ice cream stays fresh for two to three weeks when stored in an airtight container. Pressing a piece of parchment paper directly onto the surface stops moisture evaporation and prevents ice crystals from forming on top.
Can I make this recipe gluten-free?
Yes. Substitute the standard yellow cake mix with an equal amount of certified gluten-free yellow cake mix. Heat-treat the dry gluten-free mix to 165°F (74°C) just like regular flour to ensure food safety before whisking it into your dairy base.