A cookie butter cake is a layered dessert featuring the caramelized, spiced flavor of European speculoos biscuits. The sponge combines brown sugar, warm spices, and melted cookie butter, yielding a soft, tender crumb with rich toffee undertones.
Most versions pair this aromatic sponge with a silky speculoos-infused buttercream, a crunchy cookie crumb filling, and a gently warmed cookie butter drip. The profile sits halfway between classic gingerbread and rich caramel, making it a distinctive centerpiece for any celebration.
Key requirements for success include warming the spread before incorporating it into the batter, using brown sugar to highlight the cinnamon notes, and balancing sweet frostings with sea salt or tangy cream cheese.
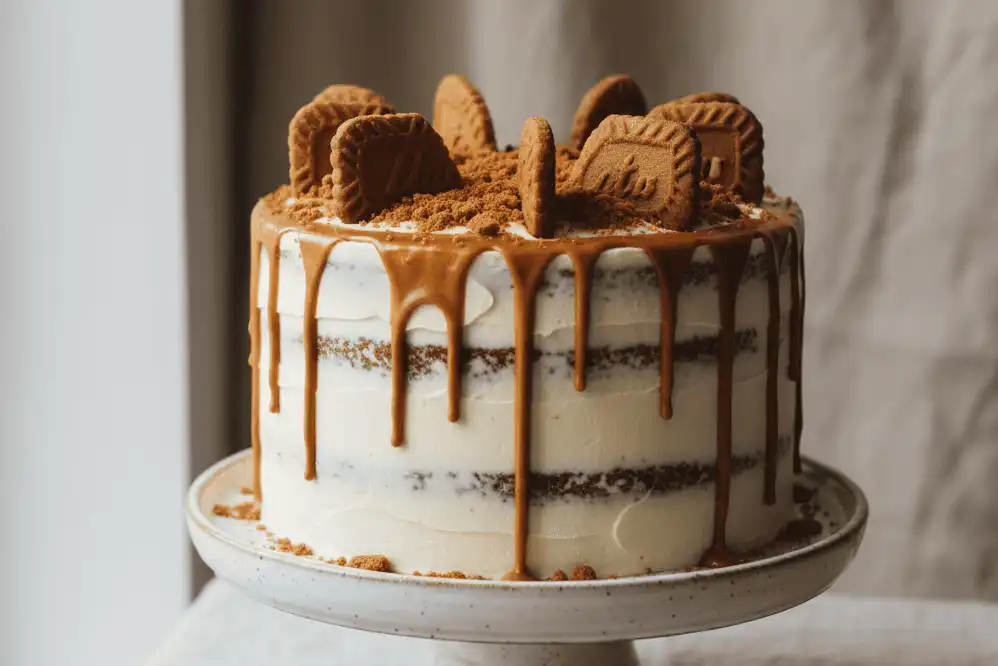
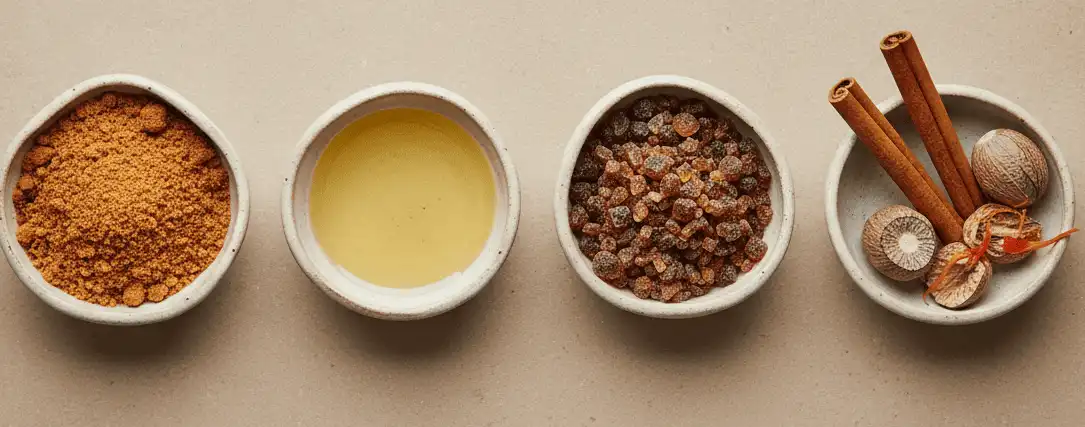
Layer cakes often rely on predictable vanilla or chocolate foundations. A well-executed cookie butter cake brings something entirely unique to the table: deep notes of cinnamon, nutmeg, ginger, and Belgian brown candi sugar.
This guide is written for home bakers, dessert enthusiasts, and decorators seeking a dependable, bakery-quality recipe. You will learn the exact food science behind incorporating dense cookie paste into a delicate cake crumb without creating a heavy, oily sponge.
The Science of Cookie Butter in Baking
Cookie butter originated in Belgium, where crisp, spiced shortcrust biscuits called speculoos (or speculaas) are pulverized and emulsified with vegetable oil, sugar, and soy lecithin. The resulting spread holds a thick, spreadable consistency similar to creamy peanut butter.
Unlike nut butters, cookie butter contains pre-baked wheat flour, substantial added sugars, and distinct vegetable fats. Understanding how these components behave under heat is critical to maintaining proper cake structure.
Fat and Sugar Dynamics
Commercial cookie butter contains approximately 35% to 40% fat by weight and upward of 30% refined sugars. When you add cookie butter to a batter, you are not simply adding flavoring; you are adding structural tenderizers.
Excess tenderizers weaken gluten networks. If you add raw cookie butter into standard cake recipes without adjusting the base butter and sugar, the cake will likely sink in the center or turn unpleasantly gummy.
Smooth vs. Crunchy Varieties
Smooth cookie butter blends seamlessly into cake batters, silky buttercreams, and pourable drips. The emulsifiers ensure an even distribution of spice oils and caramelized sugars throughout the crumb.
Crunchy cookie butter works exceptionally well inside fillings, crunches, and crumb coats where textural contrast is desired. However, avoid using crunchy versions inside the sponge batter, as the biscuit chunks absorb ambient batter moisture unevenly and disrupt the rise.
Sponge Architecture: Balancing Fat, Sugar, and Spices
Creating an exceptional cookie butter cake requires rethinking traditional creaming methods. Because cookie butter is dense and viscous at room temperature, it does not trap air like solid block butter.
The ideal base uses a hybrid fat approach. Creaming softened butter with dark brown sugar builds an airy framework, while neutral vegetable oil provides lasting moisture that keeps the crumb tender even after refrigeration.
The Role of Flour and Starch
Standard all-purpose flour has an average protein content of 10% to 12%, which can produce a slightly tough crumb when handling heavy batters. Low-protein cake flour (around 7% to 8.5% protein) creates a far superior, melt-in-the-mouth texture.
The extra starch in cake flour absorbs the free oils from the cookie butter. This prevents oily separation during baking and yields a fine, velvet-like crumb that holds clean slices.
Leavening and Acidity
Dark brown sugar contains residual molasses, which introduces mild acidity to the batter. A blend of baking powder and baking soda delivers the best rise and color.
Baking soda reacts directly with the molasses and buttermilk, creating immediate carbon dioxide bubbles and promoting Maillard browning. Baking powder provides a second lift in the oven, ensuring the layers rise evenly under the weight of the speculoos spread.
Step-by-Step Master Baking Guide
Follow these detailed steps to build a triple-layer, eight-inch cake. Take time to measure ingredients by weight with a digital kitchen scale for consistent results.
Phase 1: Ingredient Preparation and Pan Lining
What: Grease three 8-inch round aluminum cake pans, line the bottoms with parchment circles, and dust the sides with flour or cake release. Bring whole milk, eggs, and unsalted butter to 68°F (20°C).
Why: Cold ingredients do not emulsify properly, causing batter to curdle and bake unevenly. Parchment circles guarantee effortless cake release without damaging delicate edges.
How: Place your eggs in a bowl of lukewarm water for ten minutes if they are straight from the refrigerator. Warm your jar of smooth cookie butter in the microwave for 15 seconds until it reaches a fluid, pourable state (approximately 85°F/29°C).
Pro Tip: Use light-colored, straight-sided aluminum pans. Dark non-stick pans absorb heat too rapidly, causing the spiced edges to brown and dry out before the center bakes through.
Phase 2: Emulsifying the Fats and Sugars
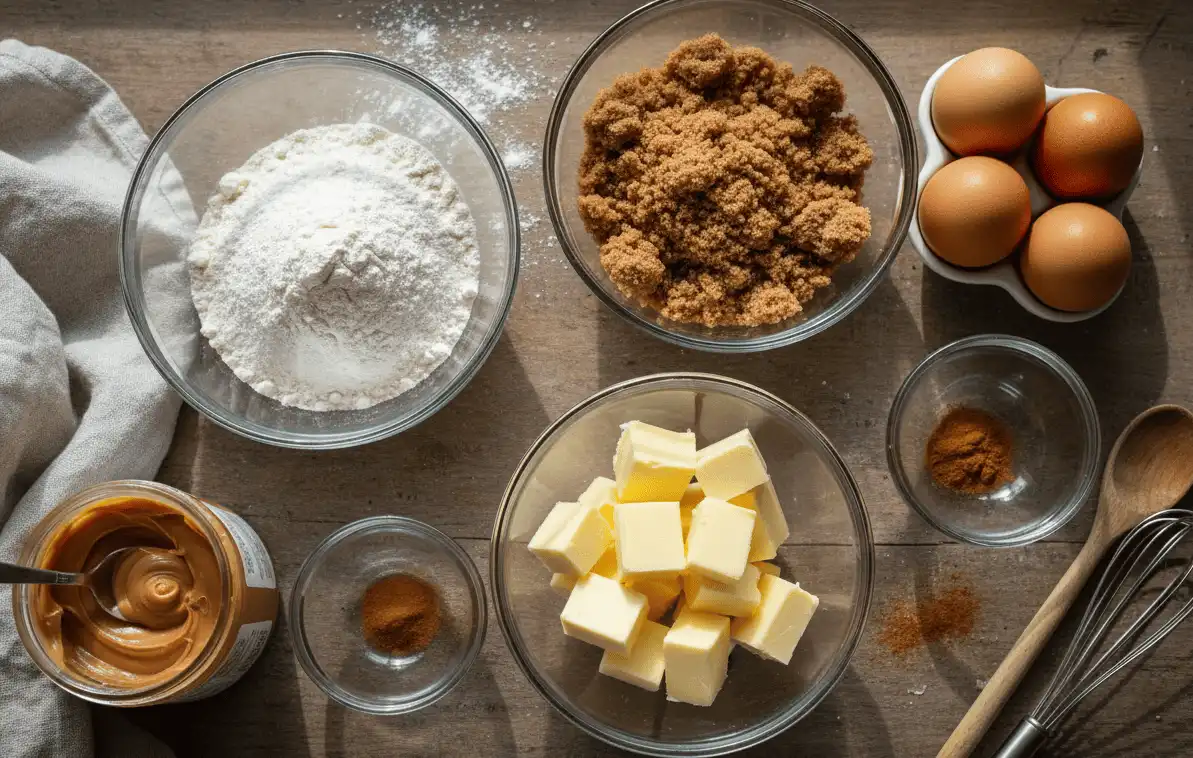
What: Beat 1 cup (226g) of softened unsalted butter with 1 cup (200g) of packed dark brown sugar and 1/2 cup (100g) of granulated white sugar for 4 to 5 minutes on medium-high speed.
Why: The sugar crystals tear micro-pockets into the butter fat, trapping air that expands during baking. Dark brown sugar provides moisture and pairs naturally with the speculoos spice profile.
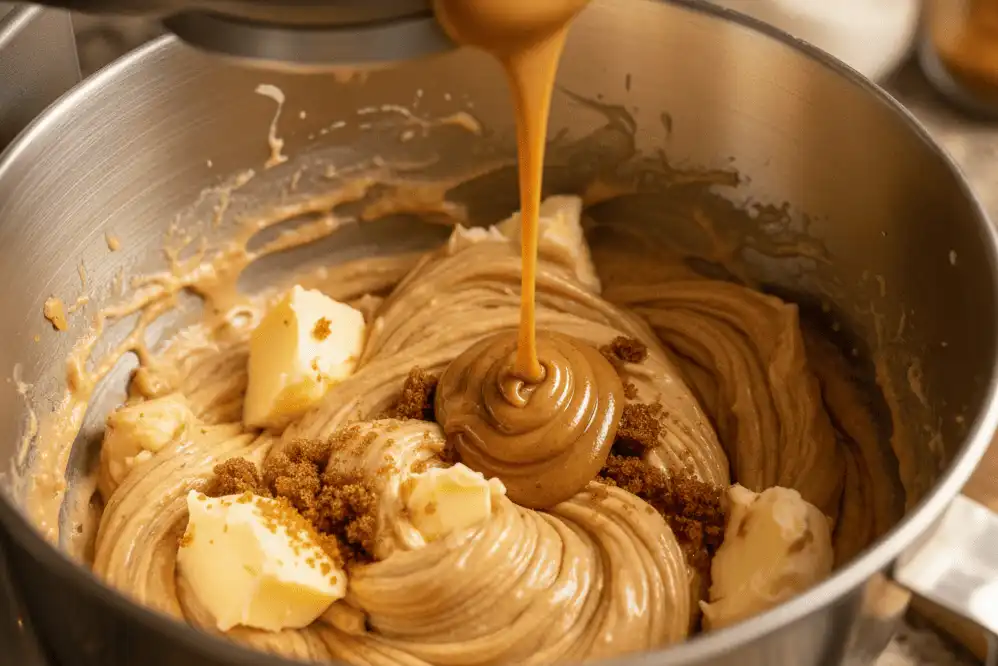
How: Scrape the sides and bottom of the bowl twice during mixing. Pour in 3/4 cup (180g) of the warmed smooth cookie butter and beat for an additional 60 seconds until the mixture is uniform and satiny.
Common Mistake: Adding cold cookie butter. Cold spread causes the creamed butter to firm up and break into greasy clumps, ruining your aeration.
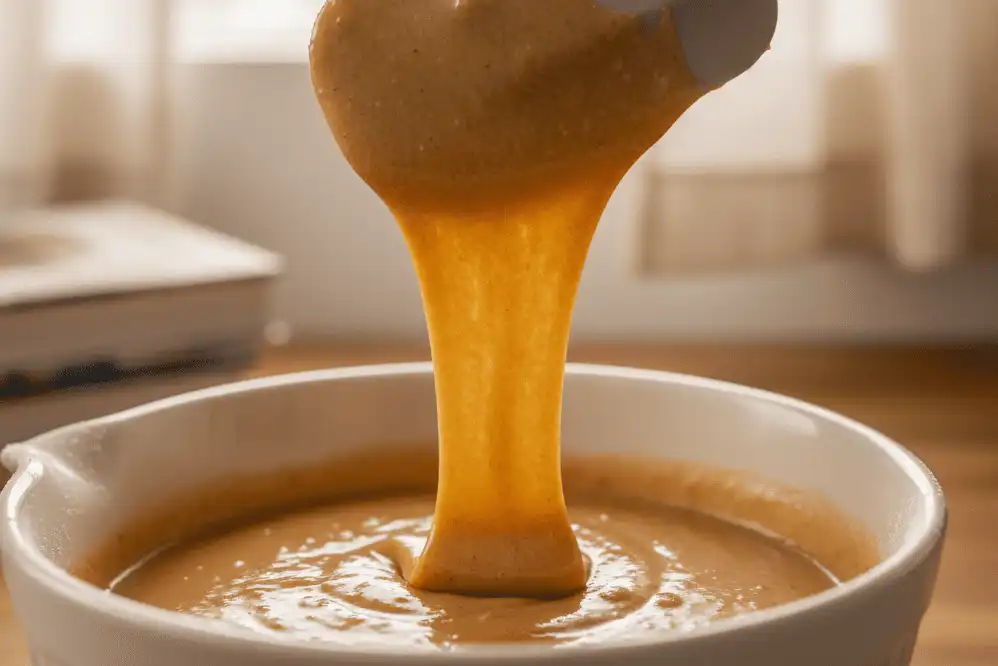
Phase 3: Incorporating Eggs and Liquids
What: Add 4 large room-temperature eggs, one at a time, followed by 2 teaspoons of pure vanilla extract and 1/4 cup (60ml) of neutral vegetable oil.
Why: Egg yolks provide lecithin for natural emulsion, while whites contribute structural proteins. Adding eggs slowly prevents the fat emulsion from splitting.
How: Beat each egg on medium speed until fully absorbed before adding the next. If the mixture starts looking slightly curdled, add two tablespoons of your weighed dry flour mixture to bind the liquid.
Phase 4: Alternating Dry and Liquid Additions
What: Sift together 2 3/4 cups (330g) of cake flour, 2 1/2 teaspoons of baking powder, 1/2 teaspoon of baking soda, 1 teaspoon of fine sea salt, and 1 teaspoon of ground cinnamon. Measure 1 cup (240ml) of room-temperature buttermilk.
Why: Alternating liquid and dry ingredients maintains a stable emulsion without saturating the flour with excess water, which would accelerate tough gluten development.
How: Add one-third of the dry mix to the creamed batter, mixing on low speed for 15 seconds. Pour in half of the buttermilk, followed by another third of the dry mix, the remaining buttermilk, and the final dry portion. Stop mixing the second flour streaks disappear.
Pro Tip: Finish folding the batter with a large silicone spatula by hand. Scrape the absolute bottom of the bowl to catch any unmixed pockets of dense butter or sugar.
Phase 5: Baking Dynamics and Cooling
What: Divide the batter evenly among the three prepared pans (approximately 460g per pan). Bake at 350°F (175°C) for 28 to 32 minutes.
Why: Even batter distribution ensures identical bake times across all layers, preventing dry, over-baked outer rounds.
How: Test doneness with a thin wooden skewer inserted into the center. It should emerge clean or with a few moist crumbs clinging to it, not wet batter. The cake tops will spring back gently when pressed lightly in the center.
Common Mistake: Leaving cakes in the hot pans to cool completely. Steam collects at the bottom of the pan, making the bottom crust soggy. Let them rest in the pans for 10 minutes, then invert onto wire cooling racks.
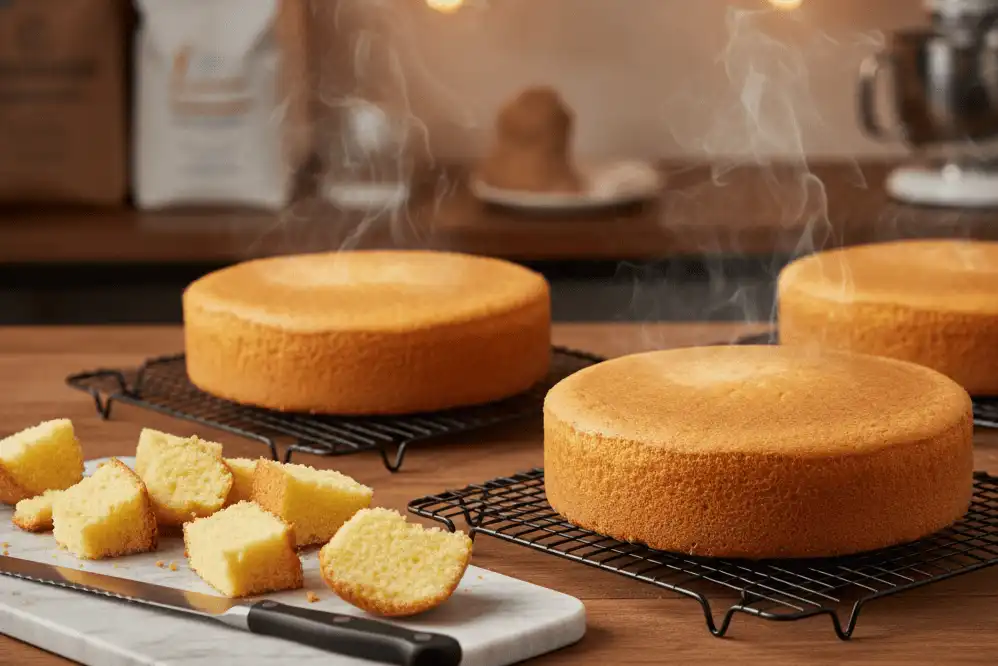
Frosting Systems: Balancing Sweetness with Speculoos
Cookie butter carries significant sweetness. Pairing a cookie butter sponge with standard American buttercream can result in an overly sugary dessert that masks the subtle spices.
Professional bakers balance this profile using frostings with higher fat content, airy volume, or dairy tang. Below are the three most effective frosting systems for this cake.
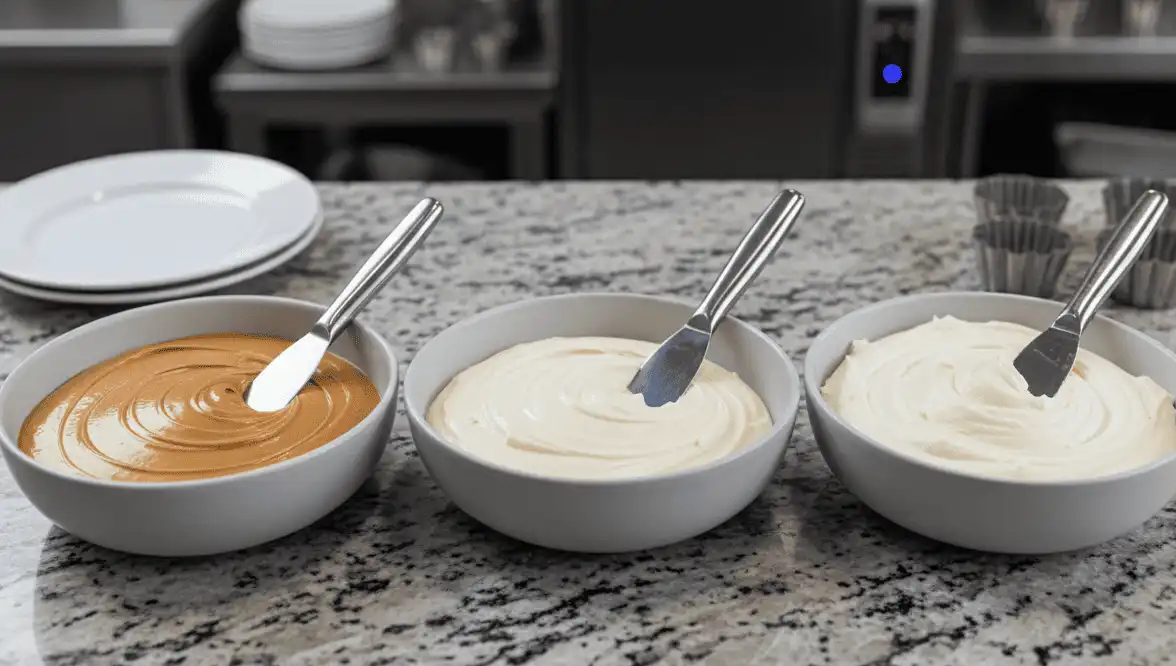
1. Speculoos Swiss Meringue Buttercream (The Professional Choice)
Swiss meringue buttercream creates a light, silky texture. By whipping heated egg whites and sugar into a stable meringue before emulsifying with softened butter, you gain an airy medium that carries speculoos flavor without cloying sweetness.
To prepare, beat 3/4 cup (180g) of smooth cookie butter and 1/2 teaspoon of fine sea salt into a standard four-egg-white batch of Swiss meringue buttercream. The resulting frosting spreads smoothly and produces sharp cake edges.
2. Tangy Speculoos Cream Cheese Frosting
The natural lactic acid in cream cheese cuts through the sugar and pairs naturally with brown sugar spice. This frosting provides an appealing contrast for home-style layer cakes.
Use cold block cream cheese beaten into creamed butter and powdered sugar, finishing with 1/2 cup of melted cookie butter. Never use tub-style spreadable cream cheese, which contains added water that thins your frosting.
3. The Cookie Butter Biscuit Crunch Filling
A multi-layer cake benefits greatly from varying textures. Incorporating a crisp layer between sponge rounds elevates the eating experience.
Coarsely crush 15 speculoos cookies and toss them with 2 tablespoons of melted unsalted butter and 2 tablespoons of melted white chocolate. The white chocolate coats the crumbs, creating a moisture barrier that keeps the biscuits crunchy inside the frosted cake for up to three days.
Recipe Formulation Comparison
Different baking fats and leavening techniques change the structural performance of cookie butter cakes. Review this comparison to choose the formula that matches your display needs and timeline.
| Formula Type | Crumb Structure | Moisture Longevity | Spice Perception | Stacking Strength |
|---|---|---|---|---|
| All-Butter Base | Tight, velvety, dense | 2 to 3 days | Moderate (fat coats palate) | High (firms well chilled) |
| All-Oil Base | Open, spongy, springy | 5 to 6 days | Very High (oil releases spices quickly) | Moderate (fragile when tall) |
| Hybrid Base (Butter + Oil) | Tender, fine, cohesive | 4 to 5 days | High (balanced release) | High (excellent for tiered cakes) |
| Sour Cream / Heavy Base | Heavy, pound-cake style | 4 days | Muted (acid softens heat) | Very High (heavy tier support) |
Professional Baker Tips and Edge Cases
Working with high-fat, spiced batters requires adjustments for environmental factors. Use these professional guidelines to handle challenging baking conditions.
High-Altitude Adjustments
At elevations above 3,500 feet, low air pressure allows batters to rise faster, while liquids evaporate more rapidly. To prevent your cake from collapsing in the center, decrease baking powder to 2 teaspoons and increase your milk by 2 tablespoons.
In addition, increase the oven temperature by 15°F (to 365°F/185°C). This higher heat sets the cake structure before the leavening gases over-expand and rupture the delicate crumb cells.
Mastering the Speculoos Drip
A clean drip finish requires strict temperature control. Many decorators run into trouble by pouring hot cookie butter directly onto room-temperature frosting, which melts the butter and causes streaks.
Chill your frosted cake for at least 45 minutes until the exterior feels cold and firm to the touch. Warm pure smooth cookie butter in five-second microwave intervals until it reaches 88°F to 90°F (31°C to 32°C). At this temperature, the spread flows gently from a squeeze bottle or spoon and sets instantly on the cold cake surface.
Freezing and Make-Ahead Schedules
Layer cakes become significantly easier to manage when broken into phases over several days. In fact, chilled or partially frozen layers are far easier to level and frost without tearing.
Wrap cooled sponge layers individually in two layers of plastic wrap and one layer of aluminum foil. Store at room temperature for up to 48 hours or freeze for up to two months. Thaw frozen layers wrapped on the counter for 30 minutes before assembling.
Common Mistakes and How to Avoid Them
Even experienced bakers encounter challenges when working with speculoos spreads. Here is how to diagnose and resolve the most common issues.
Dense, Gummy Layer at the Cake Bottom
Why It Happens: Cookie butter has a high specific gravity and tends to settle at the bottom of the pan if the emulsion splits or the batter is over-mixed.
How to Avoid It: Warm the cookie butter slightly before adding it to your creamed butter. Ensure all dairy ingredients are at room temperature to maintain a stable, uniform emulsion.
Grainy or Split Buttercream
Why It Happens: Adding cookie butter that is too cold causes the butter fat in your frosting to seize into tiny, hard pearls.
How to Avoid It: Ensure both your frosting base and your cookie butter spread share the exact same temperature (around 70°F/21°C). If the buttercream breaks, warm the outside of your mixing bowl with a hot towel and whip on medium speed for two minutes.
The Cake Tastes Cloyingly Sweet
Why It Happens: Relying exclusively on sweet spreads and powdered sugar without enough salt or acidity to balance the palate.
How to Avoid It: Do not omit the salt called for in the recipe. Incorporate a pinch of flaky sea salt (such as Maldon) between the layers and finish with a tangy cream cheese frosting or a balanced Swiss meringue.
Kitchen Best Practices for Layer Cakes
Consistent results come down to routine and precise execution. Apply these habits every time you bake layer cakes.
- Weigh Everything: Fluffing flour with a fork and scooping with cups can introduce up to 25% excess dry ingredients. A digital kitchen scale guarantees consistent ratios.
- Use an Oven Thermometer: Most home ovens drift between 15°F and 35°F off their target temperature. An inexpensive hang-tag thermometer inside the oven ensures accurate heat levels.
- Level Every Layer: Trim domes off cooled cake rounds using a serrated bread knife or wire cake leveler. Flat layers prevent structural leaning and sliding once stacked.
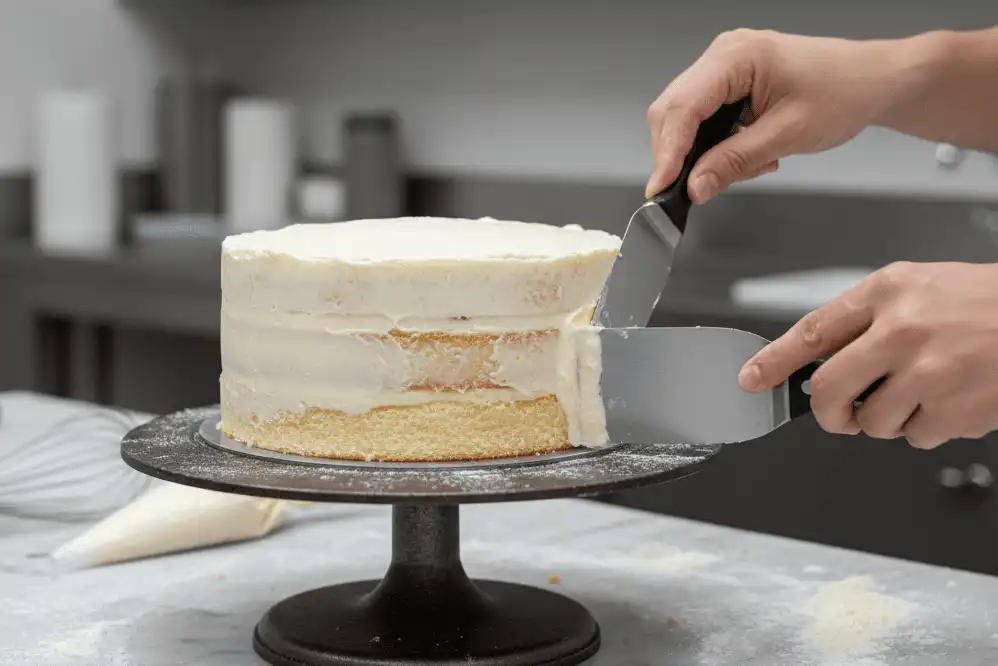
- Apply a Dedicated Crumb Coat: Spread a thin, 1/8-inch layer of frosting over the entire cake and chill for 20 minutes before applying your final outer coat. This locks in loose biscuit crumbs.
Essential Baking Tools
Equipping your kitchen with the right gear ensures clean decorating lines and predictable bakes.
- Heavy-Gauge Aluminum Pans: Brands like Fat Daddio’s or Parrish Magic Line provide straight 90-degree sides and even heat conduction.
- Cast-Iron Cake Turntable: A weighted turntable spins freely and remains stable, allowing for smooth, continuous icing sweeps.
- Offset Spatulas (4-inch and 8-inch): Stainless steel offset blades keep your knuckles clear of wet frosting while smoothing cake tops and sides.
- Bench Scraper / Cake Comb: A tall stainless steel scraper helps you achieve flat, professional buttercream sides.
Authoritative References
To learn more about the science of baking, explore these respected educational resources:
- King Arthur Baking Company: Professional guides on wheat flour protein percentages and starch gelatinization.
- Serious Eats (Baking Science Section): In-depth explorations of fat emulsions and butter temperature dynamics.
- The European Food Safety Authority (EFSA): Standards and background on European speculoos spice traditions and candi syrup profiles.
Key Takeaways
- Cookie butter adds substantial fat, sugar, and pre-gelatinized flour to your batter; balance these with low-protein cake flour.
- Always warm your speculoos spread slightly to ensure smooth mixing into creamed butter and sugar.
- A hybrid fat base (butter for aeration, oil for moisture) provides the best texture and longevity for tiered cakes.
- Protect biscuit crumb fillings from softening by coating crushed cookies in a thin layer of melted white chocolate.
- Chill your frosted cake thoroughly before applying an 88°F (31°C) warm cookie butter drip finish.
Final Thoughts
Baking an exceptional cookie butter cake comes down to respecting the balance between dense spiced spreads and light cake structures. With proper ingredient temperatures, cake flour, and a silky frosting, you will produce a dessert that stands out for both flavor and design.
Take your time with the mise en place, chill your layers before frosting, and enjoy the rich, caramelized aroma that fills your kitchen. Set out your ingredients, preheat your oven, and begin baking your new signature dessert.
Frequently Asked Questions
Yes. Lotus Biscoff is simply the most widely distributed commercial brand of speculoos cookie butter. Generic supermarket brands and Trader Joe’s Speculoos Spread have near-identical ratios of fat, sugar, and crushed biscuits, making them completely interchangeable in both the sponge and frosting without any recipe adjustments.
Cakes typically sink in the center due to excess leavening, opening the oven door too early, or adding un-warmed, heavy cookie butter that overburdens the batter structure. Excess leavening expands air pockets before the flour starches set, causing the cake to collapse as it cools. Always measure leavening agents precisely.
Yes. This recipe yields approximately 24 standard cupcakes. Line muffin tins with paper liners, fill each cup two-thirds full (about 45 grams of batter), and bake at 350°F (175°C) for 17 to 20 minutes until a toothpick inserted into the center emerges clean.
If frosted with Swiss meringue buttercream, store the cake in an airtight container at cool room temperature for up to two days. If using cream cheese frosting, refrigerate the cake. Always bring refrigerated slices back to room temperature for 45 minutes before serving so the butter fats soften for the best texture.
Yes. Most commercial speculoos spreads (including Lotus Biscoff) are naturally dairy-free and vegan. Substitute the unsalted dairy butter with an equal weight of plant-based block baking sticks, and replace the buttermilk with unsweetened soy milk mixed with one tablespoon of white apple cider vinegar.
The secret is temperature management. Chill your frosted cake for at least 45 minutes so the frosting firm and cold. Warm the cookie butter in brief microwave intervals until it reaches roughly 88°F (31°C). The liquid spread cools and stops flowing as soon as it hits the chilled cake surface.
You can substitute all-purpose flour, but the resulting cake crumb will be noticeably denser and chewier. If using all-purpose flour, replace two tablespoons of flour per cup with two tablespoons of cornstarch, then sift the mixture three times to ensure even distribution and lower overall protein concentration.
You can bake the sponge layers up to three days ahead if stored tightly wrapped at room temperature. Alternatively, freeze wrapped layers for up to two months. Assembling the cake while the layers are partially chilled also makes slicing and frosting much simpler by minimizing crumbs.