Table of Contents
- Recipe Snapshot & Quick Overview
- Why This Chocolate Ganache Cake Recipe Works
- The Science of a Tender, Moist Chocolate Crumb
- Understanding Ganache Chemistry and Fat Emulsions
- Complete Ingredients and Measurement Guide
- Essential Baking Tools and Equipment
- Step-by-Step Instructions: Baking the Cake Layers
- Step-by-Step Instructions: Preparing the Ganache
- Assembly, Crumb Coating, and Glazing
- Chocolate Types & Ganache Ratio Matrix
- Troubleshooting: Fixing Common Cake & Ganache Issues
- Professional Pastry Chef Tips and Flavor Variations
- Storage, Shelf Life, and Make-Ahead Timeline
- Recommended Tools and Resources
- Related Baking Guides
- External Authority References
- Key Baking Takeaways
- Frequently Asked Questions
Recipe Snapshot: The Foolproof Chocolate Ganache Cake
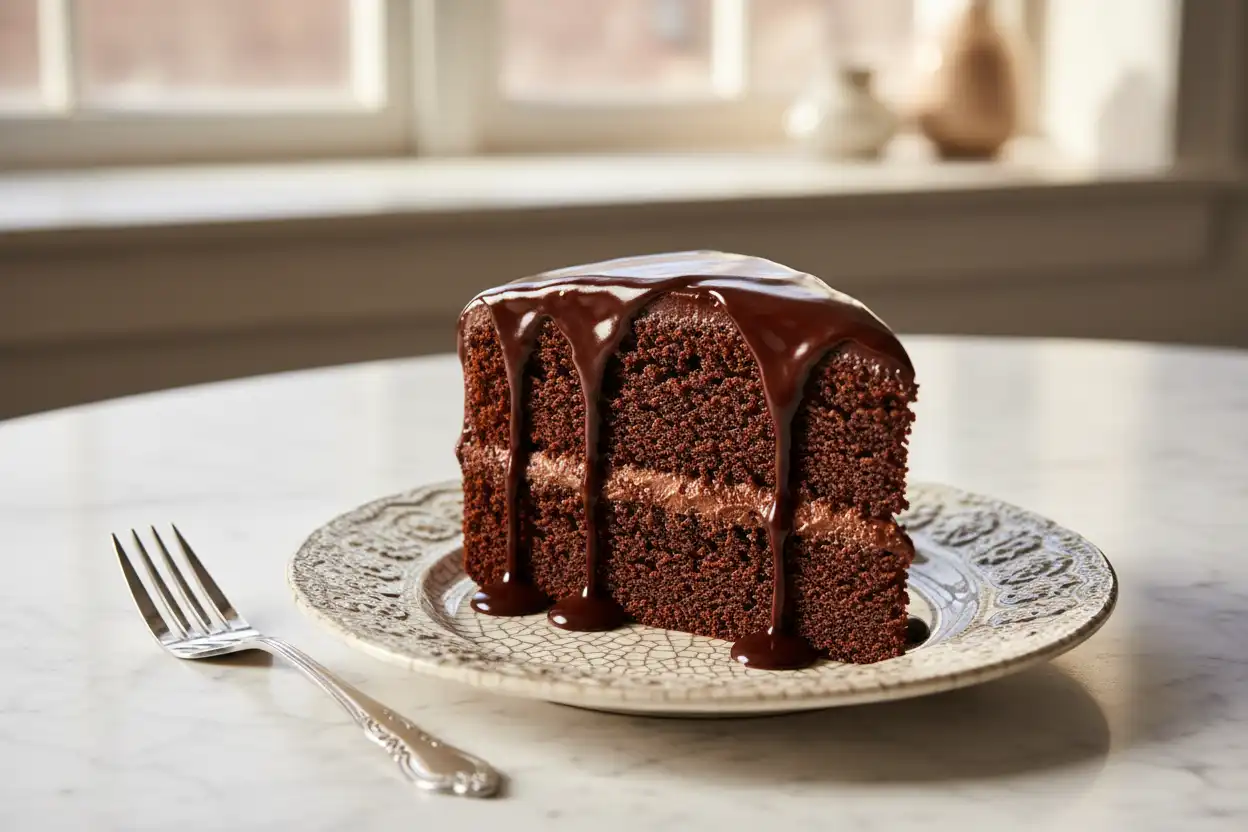
This classic chocolate ganache cake pairs deep, oil-based cocoa sponge layers with a silky dark chocolate ganache glaze. The combination of Dutch-processed cocoa bloomed in hot coffee and a balanced 1:1 cream-to-chocolate emulsion yields an intensely chocolatey, ultra-moist crumb that stays tender for days at room temperature.
The batter requires no stand mixer and comes together in 15 minutes across two bowls. The ganache uses two basic ingredients—heavy whipping cream and 60% dark chocolate—yielding a versatile frosting that can be poured as a mirror glaze, chilled to spread like fudge, or whipped into an airy filling.
- Prep Time: 25 minutes | Bake Time: 32–35 minutes
- Cooling & Ganache Set Time: 60 minutes | Total Time: 2 hours
- Yield: One 8-inch, two-layer cake (12–16 servings)
- Key Flavor Profile: Deep cocoa, bittersweet dark chocolate, balanced vanilla, subtle espresso enhancement
Why This Chocolate Ganache Cake Recipe Works
Chocolate cake is a bakery staple, yet home bakers frequently encounter dry sponges and separated, oily frostings. This recipe eliminates those frustrations by relying on proven culinary science rather than complicated techniques.
Traditional buttercream frostings often overpower the subtle notes of cocoa with powdered sugar. In contrast, chocolate ganache provides a velvety texture and an unadulterated cocoa profile that allows high-quality chocolate to shine.
Whether you are a beginner baking your first layer cake or an experienced cook seeking a reliable crowd-pleaser, this guide covers every detail. You will learn the exact mechanics of fat ratios, temperature control, and batter hydration for guaranteed success.
The Science of a Tender, Moist Chocolate Crumb
Baking is chemistry. Understanding how each ingredient functions in the batter prevents dense textures, rubbery crumbs, and sunken centers.
The Role of Fats: Oil vs. Butter
Butter contains roughly 80% to 82% milkfat, with the remaining balance made up of water and milk solids. While butter offers exceptional flavor, it solidifies at room temperature and chilled temperatures, creating a firmer crumb in chocolate cakes.
Neutral vegetable oil is 100% liquid fat. It coats flour proteins more effectively, inhibiting gluten formation and keeping the cake crumb exceptionally soft and moist even when stored in the refrigerator.
This recipe uses oil for structural moisture alongside sour cream and eggs to introduce richness, emulsifiers, and dairy flavor without sacrificing the soft crumb.
Cocoa Powder Chemistry: Dutch-Processed vs. Natural
Natural cocoa powder is acidic (pH 5.0–5.8) with a sharp, fruity flavor profile. It reacts with alkaline baking soda to produce carbon dioxide, giving the cake lift.
Dutch-processed cocoa is treated with an alkalizing agent to bring its pH to a neutral 7.0. This wash darkens the color to a rich espresso-brown tone and removes harsh astringency, yielding a smooth, earthy chocolate profile.
Because this formula uses Dutch-processed cocoa for rich color and depth, it relies primarily on baking powder for leavening, balanced by a small amount of baking soda to interact with the acidic sour cream.
The Bloom Method: Maximizing Chocolate Flavor
Cocoa powder contains trapped flavor compounds that dissolve and expand when exposed to hot liquid. Mixing cocoa powder directly with dry flour leaves these flavors locked inside the starch matrix.
Pouring boiling water or freshly brewed hot coffee over the cocoa powder releases these aromatic oils and dissolves stubborn cocoa clumps. This process, known as “blooming,” amplifies the chocolate intensity across the entire sponge.
Understanding Ganache Chemistry and Fat Emulsions
Classic chocolate ganache is a culinary emulsion—a stable suspension of tiny fat droplets from cocoa butter and dairy fat dispersed evenly within water-based liquids.
Maintaining this emulsion requires strict attention to the ratio of fat to moisture and the temperature during blending.
The Golden Ganache Ratios
The weight ratio of chocolate to heavy cream dictates the final consistency and firmness of the ganache at room temperature:
- 1:1 Ratio (Equal parts chocolate and cream by weight): Ideal for pouring as a smooth, glossy glaze, filling cake layers, and frosting once cooled to room temperature.
- 2:1 Ratio (Two parts chocolate to one part cream): Produces a stiff, dense paste used for rolled truffles, heavy piped borders, and sculpted cake structures.
- 1:2 Ratio (One part chocolate to two parts cream): Forms a light liquid base intended for chilling and whipping into an airy, mousse-like frosting.
Understanding Chocolate Percentage (Cacao Mass vs. Cocoa Butter)
Chocolate labeling indicates total cacao percentage, which includes both dry cocoa solids and cocoa butter. A 70% chocolate bar contains less sugar and more fat/solids than a 50% semisweet bar.
Higher cacao percentages require more liquid to form a stable emulsion. If you swap bittersweet chocolate (70%) into a recipe designed for semisweet (50%) without increasing the cream, the ganache will break or turn excessively brittle.
For reliable home baking, use high-quality baking chocolate containing 55% to 62% cacao. Avoid standard chocolate chips, which contain stabilizers like soy lecithin and lower cocoa butter percentages designed to hold their shape under heat.
Heavy Cream vs. Alternative Liquids
True heavy cream contains 36% to 40% milkfat. This high fat content stabilizes the chocolate emulsion and yields a rich mouthfeel.
Using whole milk or half-and-half introduces too much water and insufficient fat, resulting in a runny, separated glaze that will not set properly on the cake layers.
Complete Ingredients and Measurement Guide
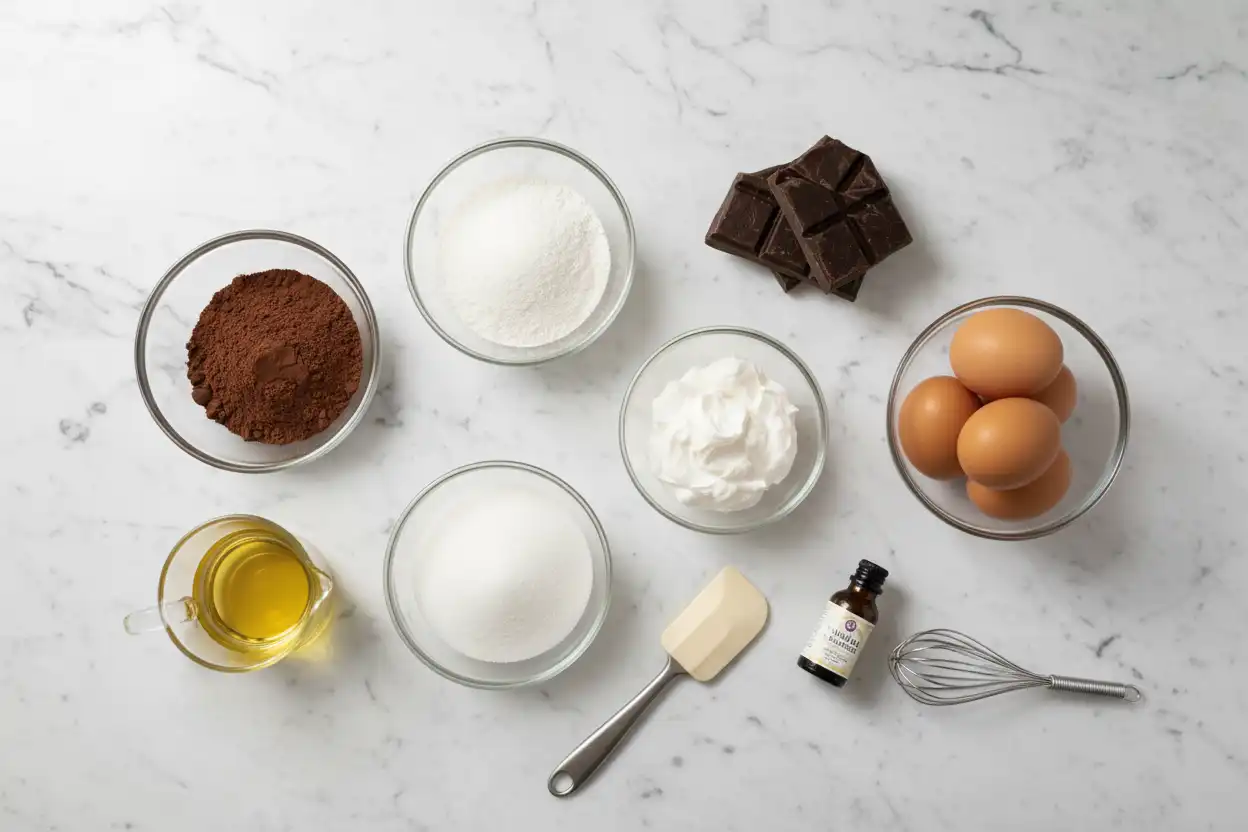
For bakery-quality consistency, measuring dry ingredients with a digital kitchen scale is strongly recommended. Volume measurements (cups) vary significantly based on how tightly flour is packed.
For the Chocolate Cake Layers (Metric & US Customary)
- All-Purpose Flour: 260g (2 cups, spooned and leveled) — provides structural gluten without becoming tough.
- Granulated White Sugar: 400g (2 cups) — sweetens and locks in crumb moisture.
- Dutch-Processed Cocoa Powder: 75g (¾ cup) — delivers a deep color and smooth chocolate profile.
- Baking Powder: 8g (2 teaspoons) — acts as the primary chemical leavener.
- Baking Soda: 7g (1 ½ teaspoons) — balances acidity from sour cream for extra lift.
- Fine Sea Salt: 6g (1 teaspoon) — balances sweetness and heightens cocoa notes.
- Large Eggs (Room Temperature): 2 large (approx. 100g out of shell) — binds structure and provides emulsifying lecithin.
- Sour Cream or Full-Fat Greek Yogurt: 120g (½ cup, room temperature) — adds tenderizing acid and rich moisture.
- Neutral Vegetable Oil or Canola Oil: 120ml (½ cup) — guarantees long-lasting tenderness.
- Pure Vanilla Extract: 10ml (2 teaspoons) — rounds out the cocoa base.
- Hot Brewed Coffee or Boiling Water: 240ml (1 cup) — blooms the cocoa powder; the coffee flavor dissipates during baking.
For the Velvety Dark Chocolate Ganache
- Bittersweet or Semisweet Chocolate (55%–62% Cacao): 340g (12 ounces), finely chopped from baking bars.
- Heavy Cream (minimum 36% milkfat): 360ml (1 ½ cups).
- Unsalted Butter (Room Temperature, Cubed): 28g (2 tablespoons) — adds gloss and spreadable elasticity.
- Light Corn Syrup or Invert Sugar (Optional): 15ml (1 tablespoon) — gives a mirror-like shine and prevents sugar crystallization.
- Pinch of Fine Salt: 1g (⅛ teaspoon) — cuts through richness.
Smart Ingredient Substitutions
- Coffee Replacement: If avoiding caffeine, use equal amounts of boiling water or decaffeinated espresso. The flavor profile remains rich and balanced.
- Dairy-Free Option: Replace heavy cream with full-fat canned coconut milk (canned emulsion, not carton beverage) and swap sour cream for unflavored dairy-free yogurt.
- Flour Alternatives: A 1:1 commercial gluten-free baking blend with xanthan gum works well without structural collapse due to the oil-based liquid foundation.
Essential Baking Tools and Equipment
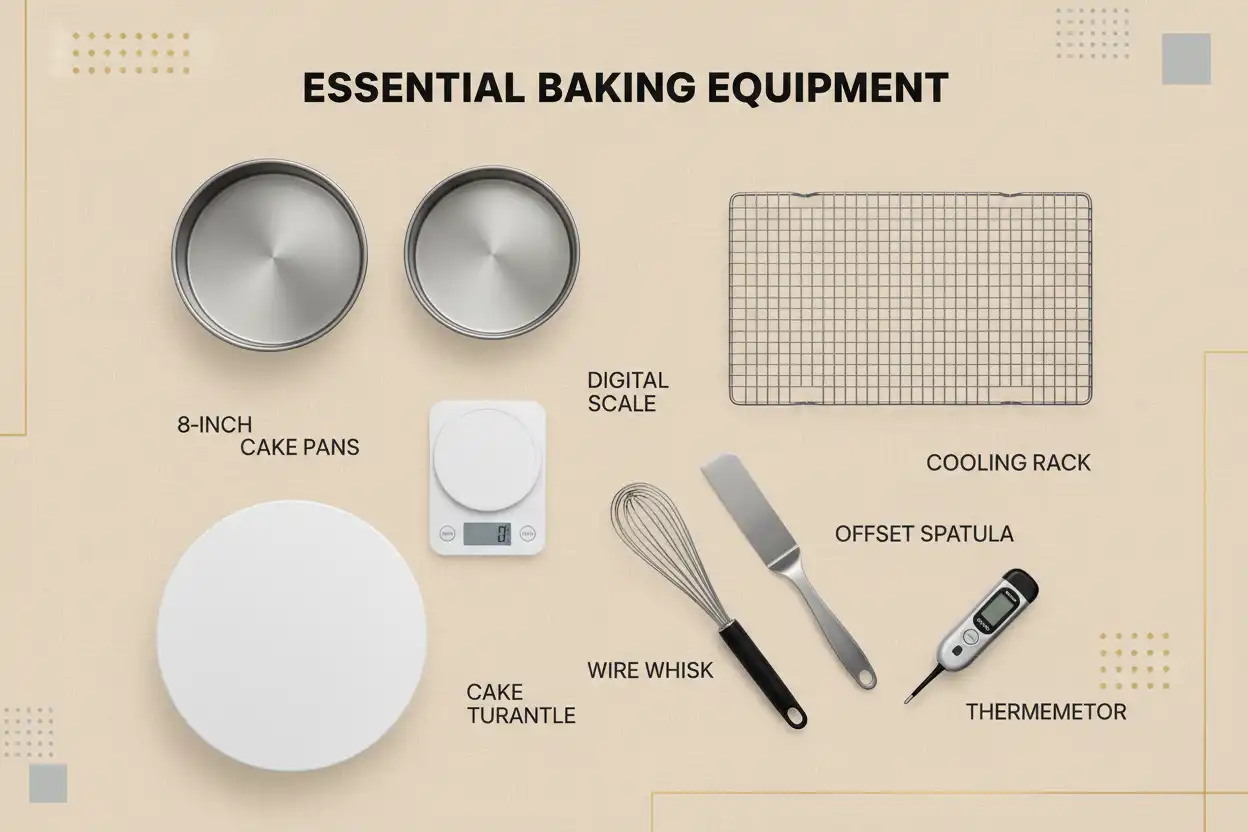
Having the right equipment prepared before beginning ensures a smooth workflow and consistent results:
- Two 8-inch Round Cake Pans: Straight-sided aluminum pans distribute heat evenly and prevent tapered edges.
- Parchment Paper Rounds: Prevents sticking on the pan bases.
- Digital Kitchen Scale: Ensures precision for flour, cocoa, and chocolate ratios.
- Fine-Mesh Sifter: Removes clumps from cocoa powder and leaveners.
- Two Large Mixing Bowls: For separate dry and wet ingredient preparation.
- Silicone Spatulas and Wire Whisk: For gentle folding and complete emulsification.
- Offset Spatula: Allows even distribution of filling and smooth crumb coating.
- Wire Cooling Racks: Ensures airflow under baked layers to prevent soggy bottoms.
- Revolving Cake Turntable (Optional but Recommended): Simplifies frosting and glazing application.
Step-by-Step Instructions: Baking the Cake Layers
Phase 1: Prepping Pans and Blooming Cocoa
What: Prepare the baking environment and activate cocoa flavor compounds.
Why: Preheated ovens ensure immediate leavening activity. Preparing pans prevents tearing delicate crumb surfaces during unmolding.
How:
- Adjust your oven rack to the center position and preheat to 350°F (177°C).
- Grease two 8×2-inch round cake pans with butter or neutral oil. Line the bottoms with parchment paper circles and dust the pan walls lightly with cocoa powder, tapping out the excess.
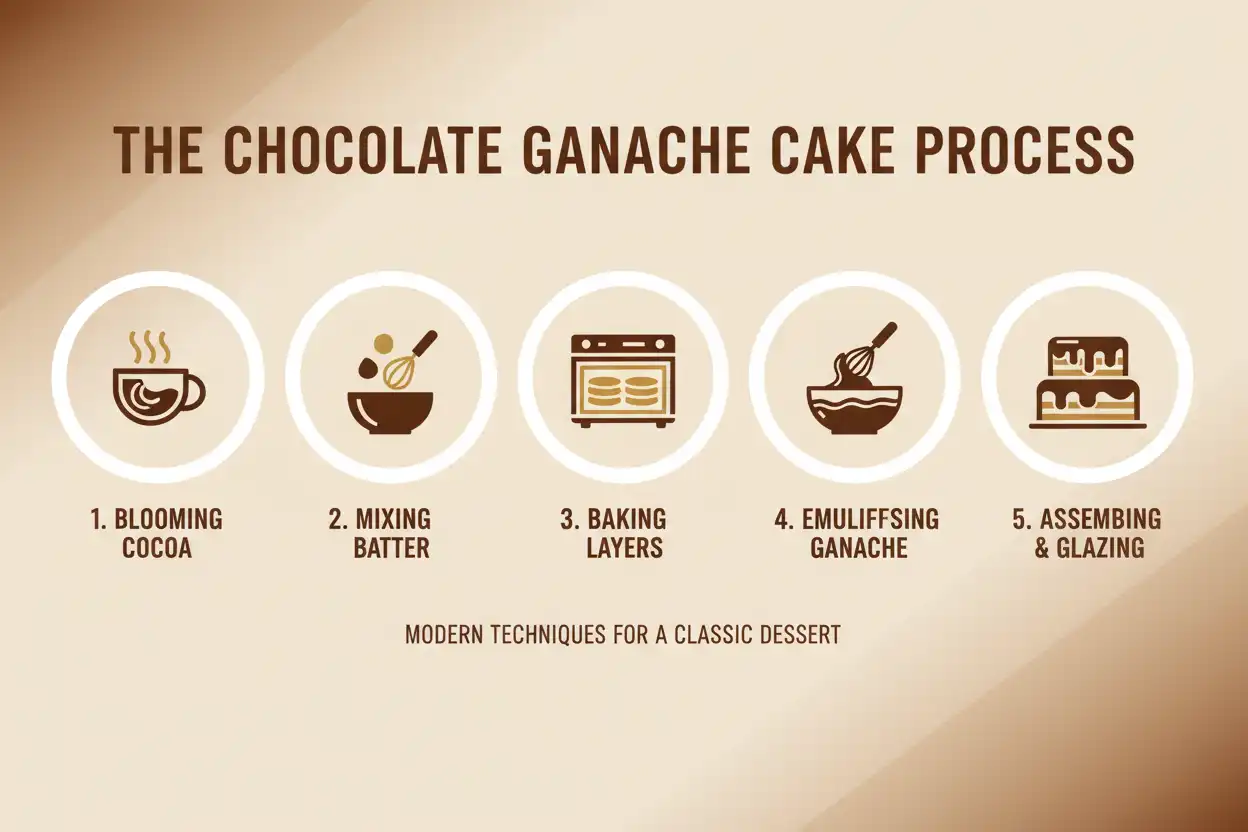
- Measure 75g (¾ cup) of Dutch-processed cocoa powder into a heat-safe bowl. Pour in 240ml (1 cup) of freshly brewed hot coffee or boiling water. Whisk until smooth and glossy, then set aside to cool slightly.
Common Mistake: Using boiling water straight off a rolling boil over dry flour can denature proteins prematurely. Only bloom the cocoa liquid separately.
Pro Tip: Dusting pans with cocoa powder instead of white flour prevents an unappealing white residue on the exterior of your dark chocolate cakes.
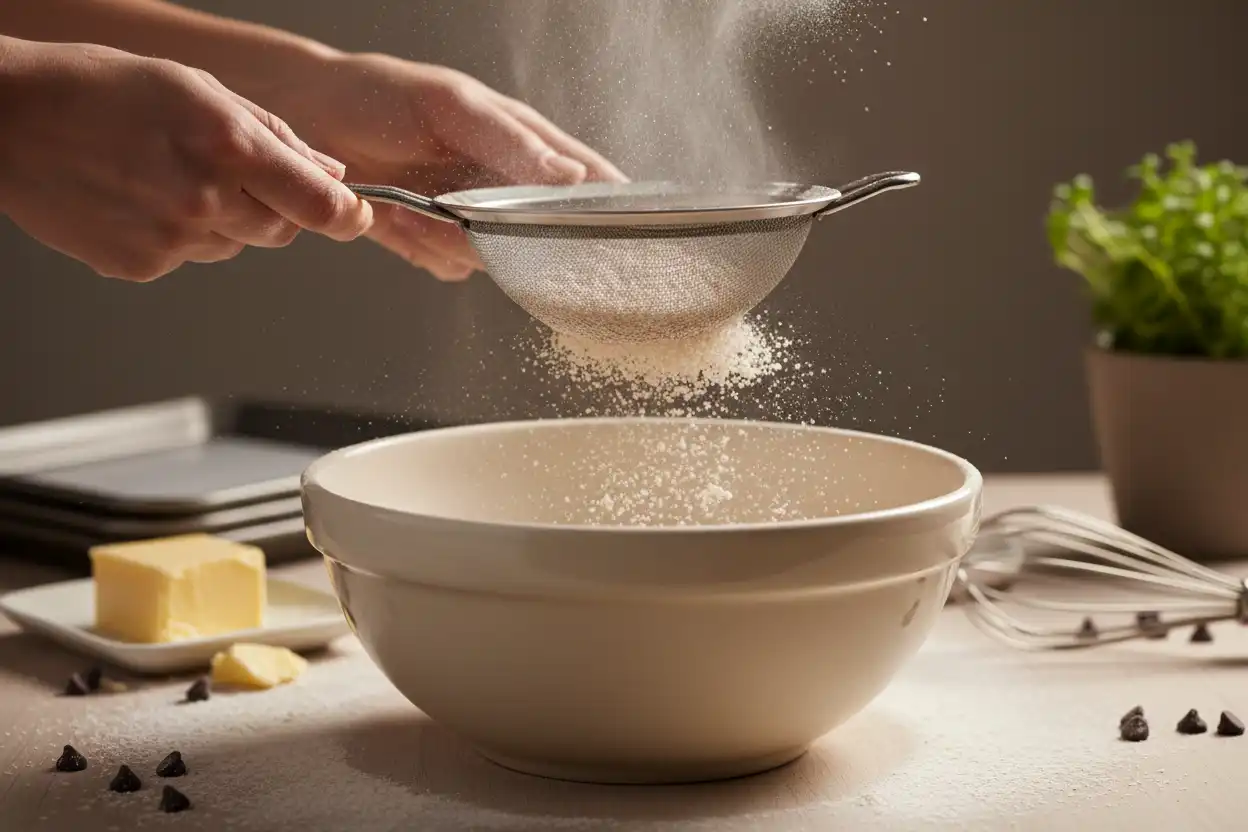
Phase 2: Whisking Dry and Wet Ingredients
What: Aerate dry components and thoroughly blend wet binders.
Why: Separately combining ingredients ensures baking powder and soda are distributed evenly, avoiding localized air pockets or bitter spots.
How:
- In a large bowl, sift together 260g all-purpose flour, 400g granulated sugar, 8g baking powder, 7g baking soda, and 6g salt. Whisk for 30 seconds to distribute.
- In a separate medium bowl, whisk together 2 large eggs, 120ml vegetable oil, 120g sour cream, and 10ml pure vanilla extract until smooth and uniform.
- Slowly pour the cooled cocoa-coffee mixture into the wet ingredients, whisking gently until combined.
Phase 3: Combining and Baking
What: Unify wet and dry mixtures into a smooth, pourable batter.
Why: Minimal agitation prevents excessive gluten development, ensuring the finished sponge remains tender.
How:
- Pour the wet mixture into the dry bowl. Using a silicone spatula or large whisk, stir gently just until no dry pockets of flour remain. The batter will be relatively thin and fluid.
- Divide the batter evenly between the two prepared pans (roughly 580g to 600g of batter per pan).
- Tap the pans firmly on the counter twice to release trapped surface air bubbles.
- Bake on the center rack at 350°F (177°C) for 30 to 35 minutes.
Common Mistake: Vigorously beating the batter with an electric mixer. This incorporates unwanted air tunnels and creates a chewy, tough crumb.
Pro Tip: Use a digital kitchen scale when pouring batter into pans to ensure identical layer thickness and uniform bake times.
Phase 4: Testing for Doneness and Cooling
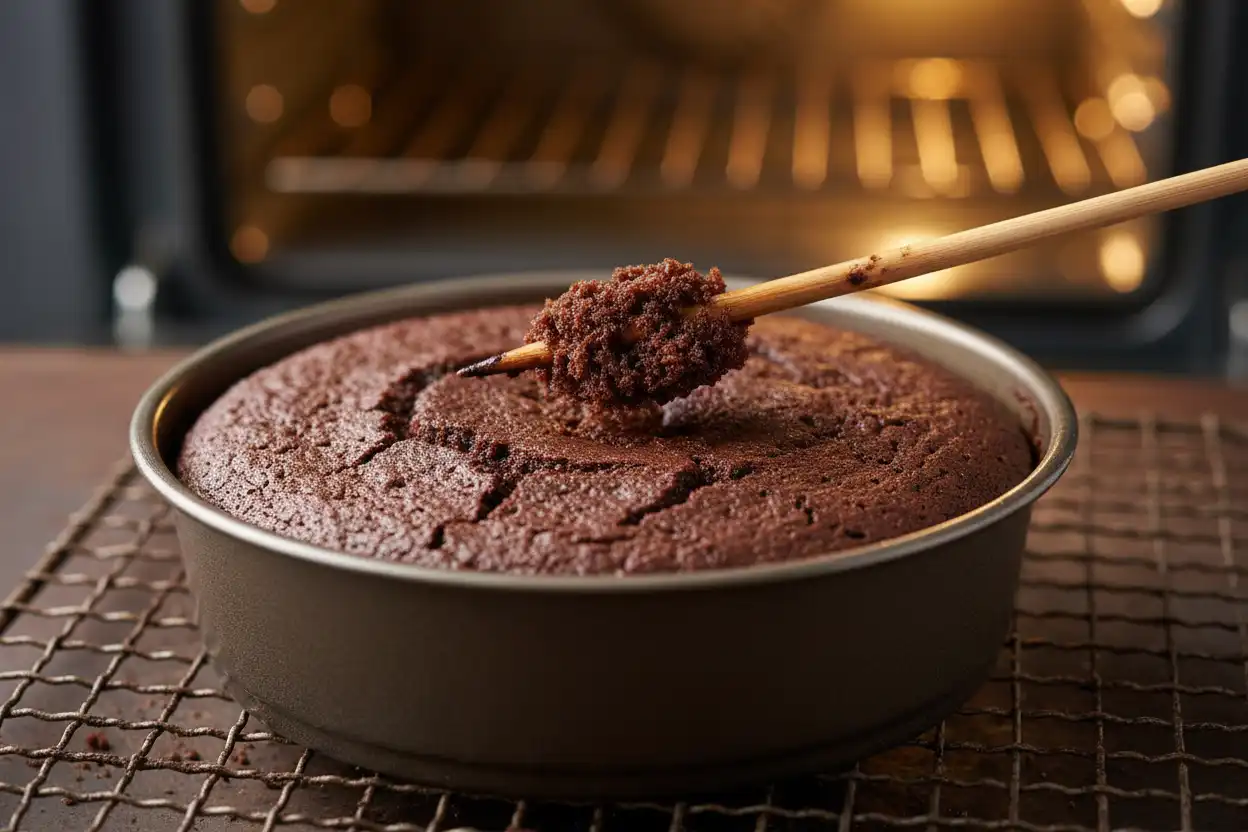
What: Determine proper baking completion and cool the sponges safely.
Why: Overbaked chocolate cakes dry out quickly, while underbaked cakes collapse in the center as steam cools.
How:
- Insert a wooden skewer or toothpick into the exact center of each layer at the 30-minute mark. It should come out clean or with a few moist, clinging crumbs, but no wet batter.
- Transfer the pans to a wire cooling rack and let them rest undisturbed for 15 minutes.
- Run a thin palette knife around the pan edges, invert the cakes onto the cooling rack, peel off the parchment paper, and allow them to cool completely to room temperature (about 60 minutes).
Step-by-Step Instructions: Preparing the Ganache
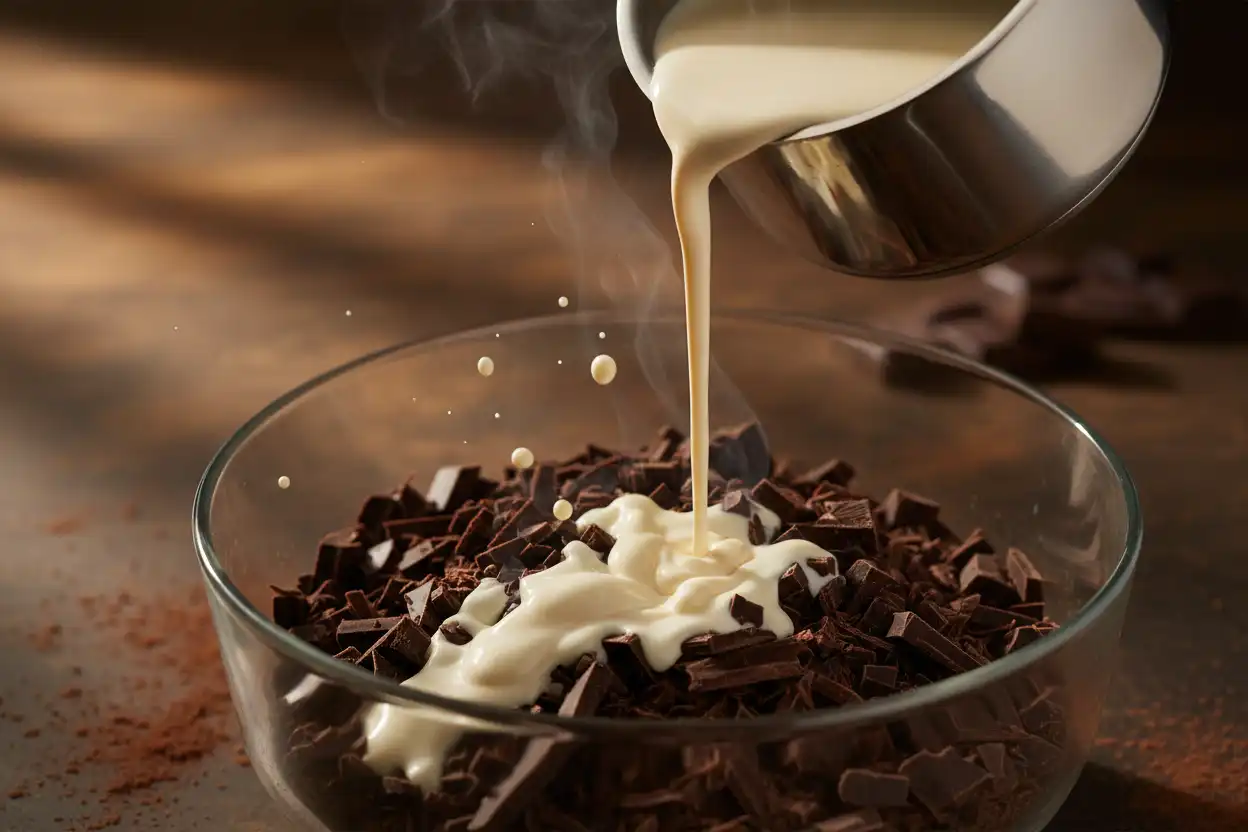
Phase 1: Chopping and Heating
What: Prepare the chocolate base and heat the dairy.
Why: Finely chopped chocolate melts rapidly and uniformly, preventing localized scorching and split emulsions.
How:
- Finely chop 340g (12 ounces) of quality chocolate bars with a serrated knife into small, uniform shards. Place the chopped chocolate into a dry, heatproof glass or metal bowl.
- In a small saucepan over medium heat, bring 360ml heavy cream and 15ml light corn syrup (if using) to a gentle simmer. Watch for small simmering bubbles forming around the pan rim (approx. 195°F–200°F / 90°C–93°C). Do not let it reach a rolling boil.
Phase 2: Resting and Emulsifying
What: Hydrate and blend the chocolate-cream suspension.
Why: Letting the hot cream melt the chocolate undisturbed prevents temperature shocks that cause fat separation.
How:
- Immediately pour the hot cream over the chopped chocolate, ensuring all pieces are fully submerged.
- Cover the bowl with a clean plate or lid and let it rest untouched for a full 5 minutes to allow heat to penetrate the cocoa butter.
- Add the softened butter cubes and a pinch of salt.
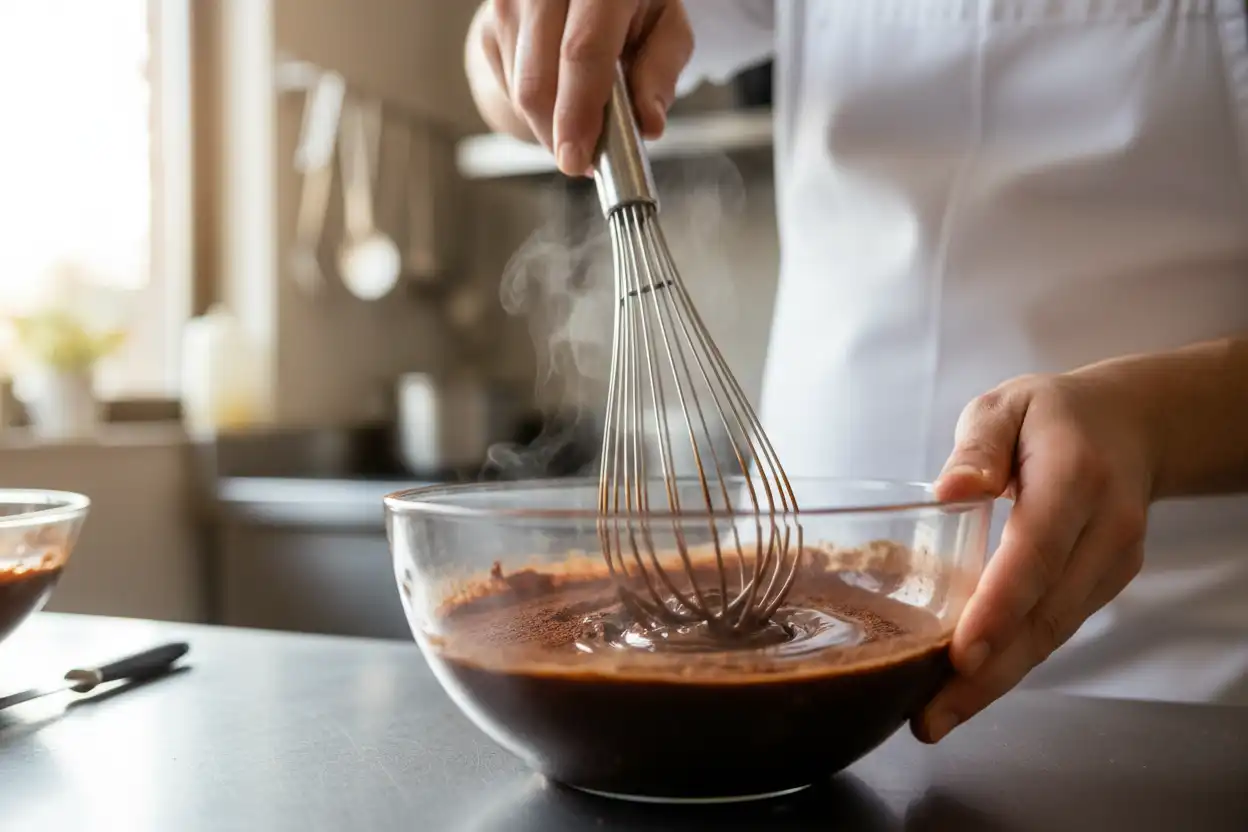
- Starting from the dead center of the bowl, stir slowly in small concentric circles with a small whisk or flexible spatula. Gradually widen your circles until the mixture transforms into a glossy, dark emulsion.
Common Mistake: Whisking vigorously with high-speed motions. This incorporates unsightly air bubbles that ruin a smooth, glossy finish.
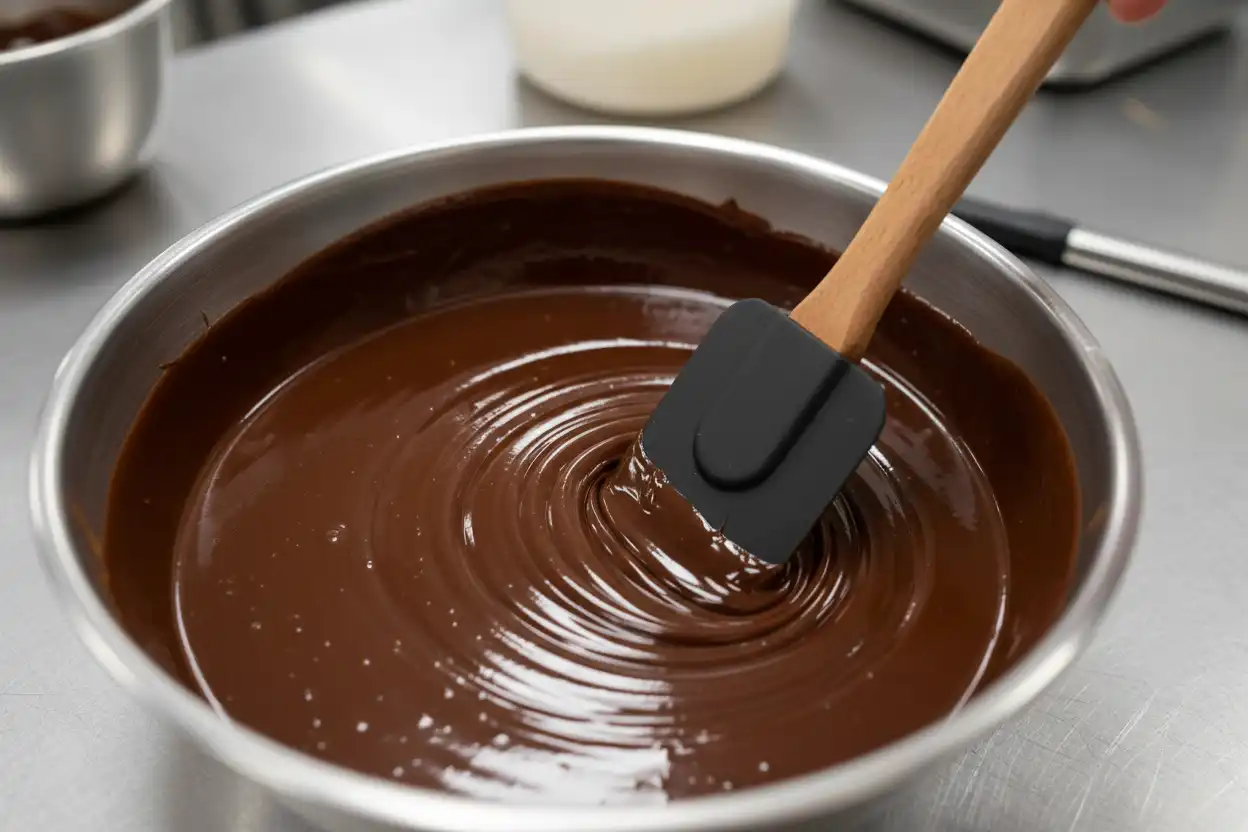
Phase 3: Temperature Control for Pouring vs. Spreading
What: Adjust ganache consistency through controlled cooling.
Why: Warm ganache runs off cake layers, while cold ganache becomes too stiff to spread cleanly without tearing the delicate crumb.
How:
- For Filling and Spreading: Let the ganache rest at room temperature (approx. 68°F–70°F / 20°C–21°C) for 60 to 90 minutes, stirring occasionally until it reaches the spreadable consistency of peanut butter.
- For a Poured Mirror Glaze: Let the ganache cool to between 88°F and 92°F (31°C–33°C). It should coat the back of a spoon smoothly while retaining fluid pourability.
Assembly, Crumb Coating, and Glazing
Leveling and Crumb Coating
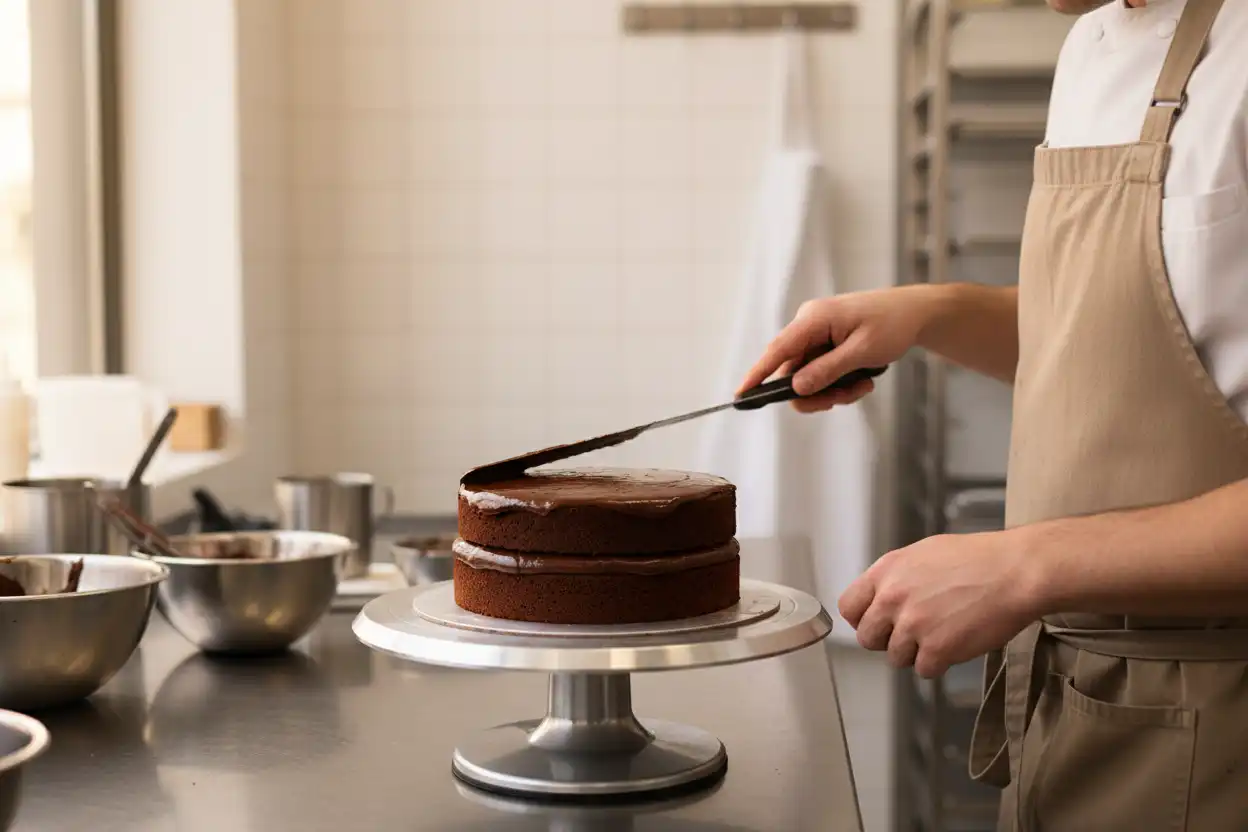
What: Level the cake layers and lock in loose surface crumbs.
Why: Flat layers prevent leaning, and a crumb coat keeps loose crumbs out of the final glaze.
How:
- Use a long serrated bread knife to slice off any domed tops from your cooled cake layers so they are completely flat.
- Place a dab of spreadable ganache on an 8-inch cake board or serving plate to anchor the cake. Place the first sponge layer cut-side up.
- Spread roughly ¾ cup of room-temperature ganache evenly over the surface using an offset spatula, pushing slightly toward the edges.
- Set the second cake layer upside down on top (bottom-base facing up) to guarantee a flat, sharp top edge.
- Apply a thin layer of ganache over the entire top and sides of the cake. This is your crumb coat.
- Refrigerate the cake for 20 to 30 minutes until the crumb coat feels firm to the touch.
Achieving the Mirror-Gloss Waterfall Pour
What: Coat the chilled cake with warm, fluid ganache.
Why: The cold cake surface quickly stabilizes the flowing ganache, creating an even, mirror-smooth glaze without spatula marks.
How:
- Set the chilled crumb-coated cake on a wire cooling rack placed inside a large, rimmed baking sheet lined with parchment paper to catch drips.
- Ensure your remaining ganache is fluid and at roughly 90°F (32°C). If it has cooled too much, microwave it in 5-second bursts, stirring gently.
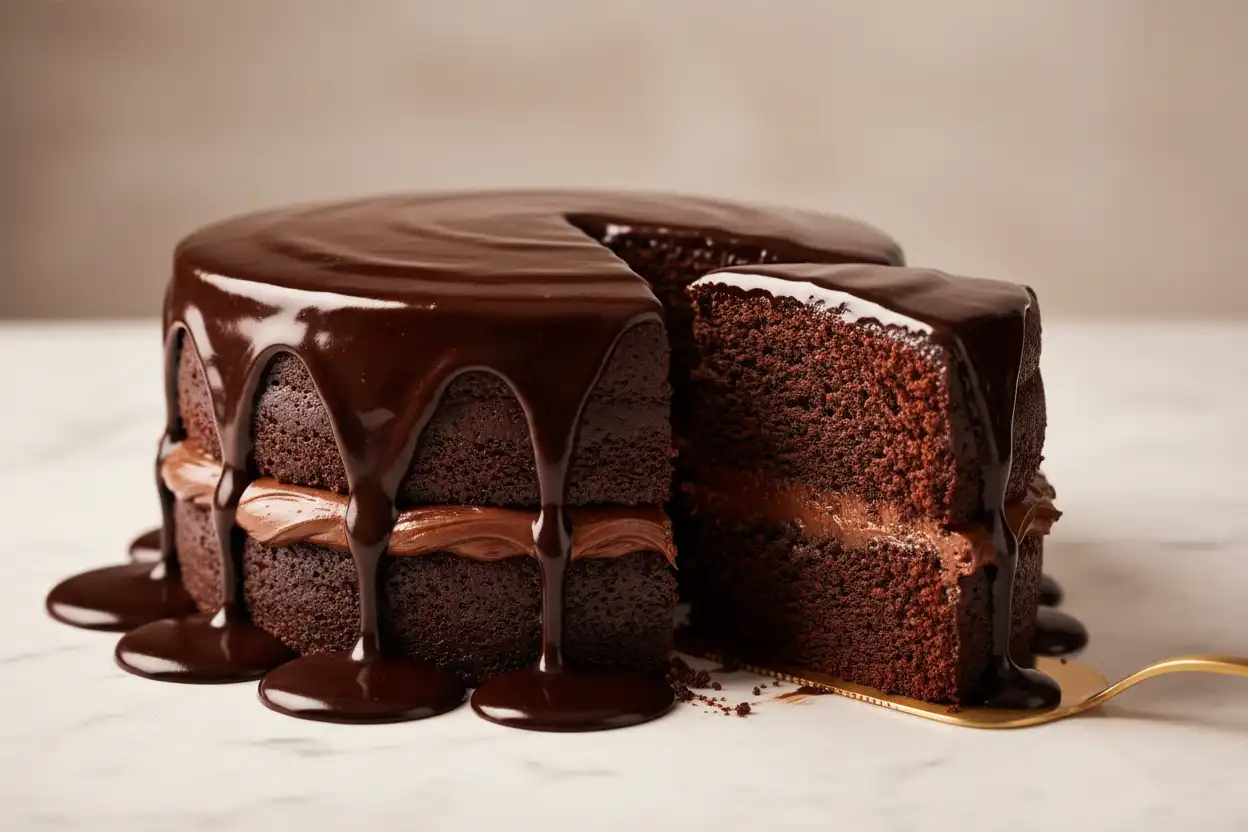
- Pour the ganache directly into the center of the cake, letting it flow naturally outward toward the edges and cascade down the sides.
- If needed, use two gentle swipes of an offset spatula to guide the glaze over any bare spots on the sides. Avoid overworking the surface once poured.
- Let the glaze set undisturbed for 20 minutes before using a wide spatula to transfer the finished cake to a serving platter.
Chocolate Types & Ganache Ratio Matrix
Different chocolate varieties contain varying amounts of cocoa butter and sugar, requiring specific cream ratios to achieve proper consistency.
| Chocolate Variety | Cacao % Range | Chocolate to Cream Ratio (by Weight) | Ideal Texture Outcome | Best Culinary Use |
|---|---|---|---|---|
| Bittersweet Dark | 65% – 72% | 1 : 1.2 (More Cream) | Rich, silky, firm set | Layer cake glazing and dark fudge filling |
| Semisweet Dark (Recipe Standard) | 54% – 62% | 1 : 1 (Equal Parts) | Velvety, balanced, glossy | All-purpose frosting, filling, and waterfall glazing |
| Milk Chocolate | 32% – 40% | 2 : 1 or 2.5 : 1 (Less Cream) | Soft, sweet, mellow | Piped swirls and delicate kid-friendly layer fillings |
| White Chocolate | 28% – 33% (Cocoa Butter) | 3 : 1 (Significantly Less Cream) | Dense, buttery, firm | Drip cakes, whipped white frosting, coloring bases |
Troubleshooting: Fixing Common Cake & Ganache Issues
Why Is My Ganache Split or Grainy? (And How to Fix It)
The Cause: A broken ganache happens when dairy fat separates from liquid. This is typically caused by cream that was too hot, vigorous stirring that forced out fat droplets, or moisture drops accidentally splashing into melting chocolate.
The Fix: Warm 15ml (1 tablespoon) of heavy cream or whole milk in a small bowl. Slowly whisk the separated ganache into the warm milk one tablespoon at a time. The small amount of fresh liquid re-establishes the balance, restoring a smooth, glossy emulsion.
Why Did My Cake Sink in the Center?
The Cause: Cakes sink when leavening gases expand before the batter’s protein matrix sets. Common triggers include expired baking powder, opening the oven door too early, or excess batter volume.
The Prevention: Always test baking powder freshness in water before baking, and keep the oven door closed for the first 25 minutes of baking.
Why Is My Ganache Too Runny or Rock Solid?
If Runny: The environment is too warm or excess cream was added. Chill the mixture in the refrigerator for 15 minutes at a time, whisking every 5 minutes until thickened.
If Too Solid: The cacao percentage was too high for the cream ratio. Place the bowl over a hot water bath (double boiler) for 60 seconds, or microwave in 5-second intervals on low power, stirring in 1 tablespoon of warmed heavy cream.
How to Fix a Dry Cake Crumb
The Cause: Measuring flour using the measuring cup as a scoop packs excess flour into the batter, skewing the fat-to-starch ratio.
The Fix: If your baked sponge feels slightly dry, brush the cooled cake layers with simple syrup (equal parts water and sugar heated until dissolved) or chocolate liqueur before applying the ganache.
Professional Pastry Chef Tips and Flavor Variations
Applying professional kitchen techniques elevates this home cake into a bakery-worthy centerpiece.
- The Immersion Blender Trick: For a mirror-smooth glaze without air bubbles, submerge an immersion blender completely into the warm ganache and blend on low, keeping the blade head submerged to avoid pulling in air.
- Flavor Infusions: Steep whole coffee beans, Earl Grey tea leaves, fresh mint sprigs, or cinnamon sticks in the heavy cream while heating. Strain the hot cream before pouring over the chopped chocolate.
- Flaky Finishing Salt: Sprinkle Maldon sea salt flakes over the top ganache glaze just before serving to cut through the rich sweetness.
- Whipped Ganache Variation: Chill the 1:1 ganache completely in the refrigerator for 4 hours, then whip on medium speed with a hand mixer for 90 seconds until it doubles in volume and lightens into a spreadable mousse.
Storage, Shelf Life, and Make-Ahead Timeline
Proper storage maintains the fresh moisture of the cake and prevents the ganache from drying out or absorbing refrigerator odors.
Room Temperature vs. Refrigeration
Room Temperature: Because sugar and cooked ganache have low water activity, an uncut, glazed chocolate ganache cake can be stored under a cake dome at cool room temperature (68°F / 20°C) for up to 3 days without spoiling.
Refrigeration: If keeping for up to 6 days, store the cake in the refrigerator. Always bring refrigerated cake slices to room temperature for 45 minutes before serving; cold ganache is dense and the sponge will taste firmer when chilled.
Freezing Assembled Cakes and Unfrosted Layers
Unfrosted Layers: Wrap room-temperature cake layers individually in two tight layers of plastic wrap, followed by a layer of aluminum foil. Freeze for up to 3 months. Thaw overnight in the refrigerator while still wrapped to let condensation form on the foil, not the cake.
Fully Assembled Cake: Place the whole finished cake uncovered in the freezer for 1 hour until the ganache is frozen solid. Wrap the entire cake carefully in plastic wrap and foil. Thaw in the refrigerator for 24 hours before bringing to room temperature.
Recommended Tools and Resources
For consistent results, these kitchen essentials are widely trusted:
- OXO Good Grips Stainless Steel Food Scale: Precise dry and liquid measurements down to 1 gram.
- Fat Daddio’s Anodized Aluminum 8×2-Inch Cake Pans: Straight-sided, non-reactive pans that ensure even heat distribution.
- Ateco Professional Revolving Cake Decorating Turntable: Cast-iron base that delivers smooth rotation during frosting and glazing.
- ThermoWorks Thermapen ONE: Instant-read digital thermometer for monitoring ganache temperatures precisely.
Related Baking Guides
Expand your baking skills with these related tutorials and foundational recipes:
- How to Bloom Cocoa Powder for Maximum Flavor Extraction
- The Essential Guide to Cake Pan Coatings: Butter, Oil, and Parchment
- Classic Vanilla Bean Sponge Cake: Foolproof Step-by-Step Method
- Understanding Chocolate Tempering: Science and Home Techniques
- Whipped Chocolate Buttercream vs. Dark Chocolate Ganache: Texture Comparison
External Authority References
For deeper reading on culinary chemistry, food safety, and standard chocolate definitions:
- King Arthur Baking Company: Guides on Cocoa Powder Types and Gluten Development
- USDA FoodData Central: Standardized Fat and Moisture Content of Heavy Dairy Cream
- Serious Eats (Food Lab): The Science of Emulsions in Chocolate Confectionery
- Valrhona Chocolate: Cocoa Butter Ratios and Melting Point Reference Standards
Key Baking Takeaways
- Blooming Cocoa Is Critical: Whisking Dutch-processed cocoa powder directly into hot coffee unlocks aromatic oils and deepens the sponge’s color.
- Use Neutral Oil for Long-Lasting Moisture: Oil remains liquid at room temperature and chilled conditions, keeping your cake crumb soft for days.
- Use Quality Chocolate Bars, Not Chips: Baking chocolate bars contain pure cocoa butter that emulsifies cleanly without waxy stabilizers.
- Respect Ganache Temperatures: Cool ganache to 90°F (32°C) for a pourable waterfall glaze, or let it sit at room temperature for spreadable filling.
- Serve at Room Temperature: Pure cocoa butter sets firm when cold; resting refrigerated cake slices at room temperature ensures a silky mouthfeel.
With these scientific principles and step-by-step instructions, you can bake an extraordinary chocolate ganache cake with confidence. Prepare your ingredients by weight, watch your temperatures closely, and enjoy the rich, chocolatey results.
Frequently Asked Questions
Can I use chocolate chips instead of chopped baking bars for the ganache?
Chopped baking bars are strongly recommended over standard chocolate chips. Commercial chocolate chips contain stabilizing agents like soy lecithin and lower amounts of cocoa butter to help them retain their shape under heat. These additives can prevent your ganache from emulsifying smoothly, leading to a dull or greasy finish.
Why does this recipe include hot brewed coffee?
Hot brewed coffee blooms the cocoa powder, breaking down starch clusters and releasing deep flavor compounds. The subtle bitterness of coffee enhances the chocolate without leaving a perceptible coffee flavor behind. If you prefer to avoid coffee, boiling water can be substituted at an exact 1:1 ratio.
Can I make this chocolate ganache cake ahead of time?
Yes, this cake is an ideal make-ahead dessert. You can bake the sponge layers up to two days in advance and store them wrapped at room temperature, or freeze them for up to three months. The fully assembled and glazed cake keeps fresh under a cake dome at room temperature for up to three days.
How do I fix a ganache that has separated and turned oily?
A broken or separated ganache can be saved by re-establishing the fat emulsion. Heat one tablespoon of whole milk or heavy cream until warm, then slowly whisk the separated ganache into the warm liquid one spoonful at a time. The added moisture will restore the smooth, glossy suspension.
Do I need to keep this chocolate ganache cake refrigerated?
The cake does not require immediate refrigeration because the high sugar content and boiled heavy cream naturally preserve the emulsion at cool room temperature for up to three days. If you store the cake in the refrigerator for longer shelf life, bring it to room temperature for 45 minutes before serving so the crumb softens.
What is the best type of cocoa powder for this recipe?
Dutch-processed cocoa powder delivers the best color and flavor balance for this recipe. Because it is treated with an alkalizing agent, it has a neutral pH, a dark brown color, and a smooth, mellow chocolate profile. Natural cocoa powder will work, but it yields a lighter color and a sharper, slightly acidic taste.
Can I turn this recipe into chocolate ganache cupcakes?
Yes, this batter adapts easily to cupcakes. Line two standard 12-cup muffin tins with paper liners and fill each cup roughly two-thirds full with batter. Bake at 350°F (177°C) for 18 to 22 minutes until a toothpick inserted in the center comes out clean, then top with spreadable or whipped ganache.