A small wedding cake can feel just as ceremonial as a grand display when the flavor, finish, and details are chosen with care. This guide walks you through baking, filling, frosting, and decorating a refined 6-inch vanilla buttercream cake that works beautifully for intimate receptions, elopements, anniversary dinners, or as the cutting cake beside other wedding cake alternatives.
The recipe is designed for home bakers who want polished results without building a towering cake. You will make a small, elegant two-layer cake that reads as a classic small wedding cake 1 tier design, with optional flowers for a romantic finish.
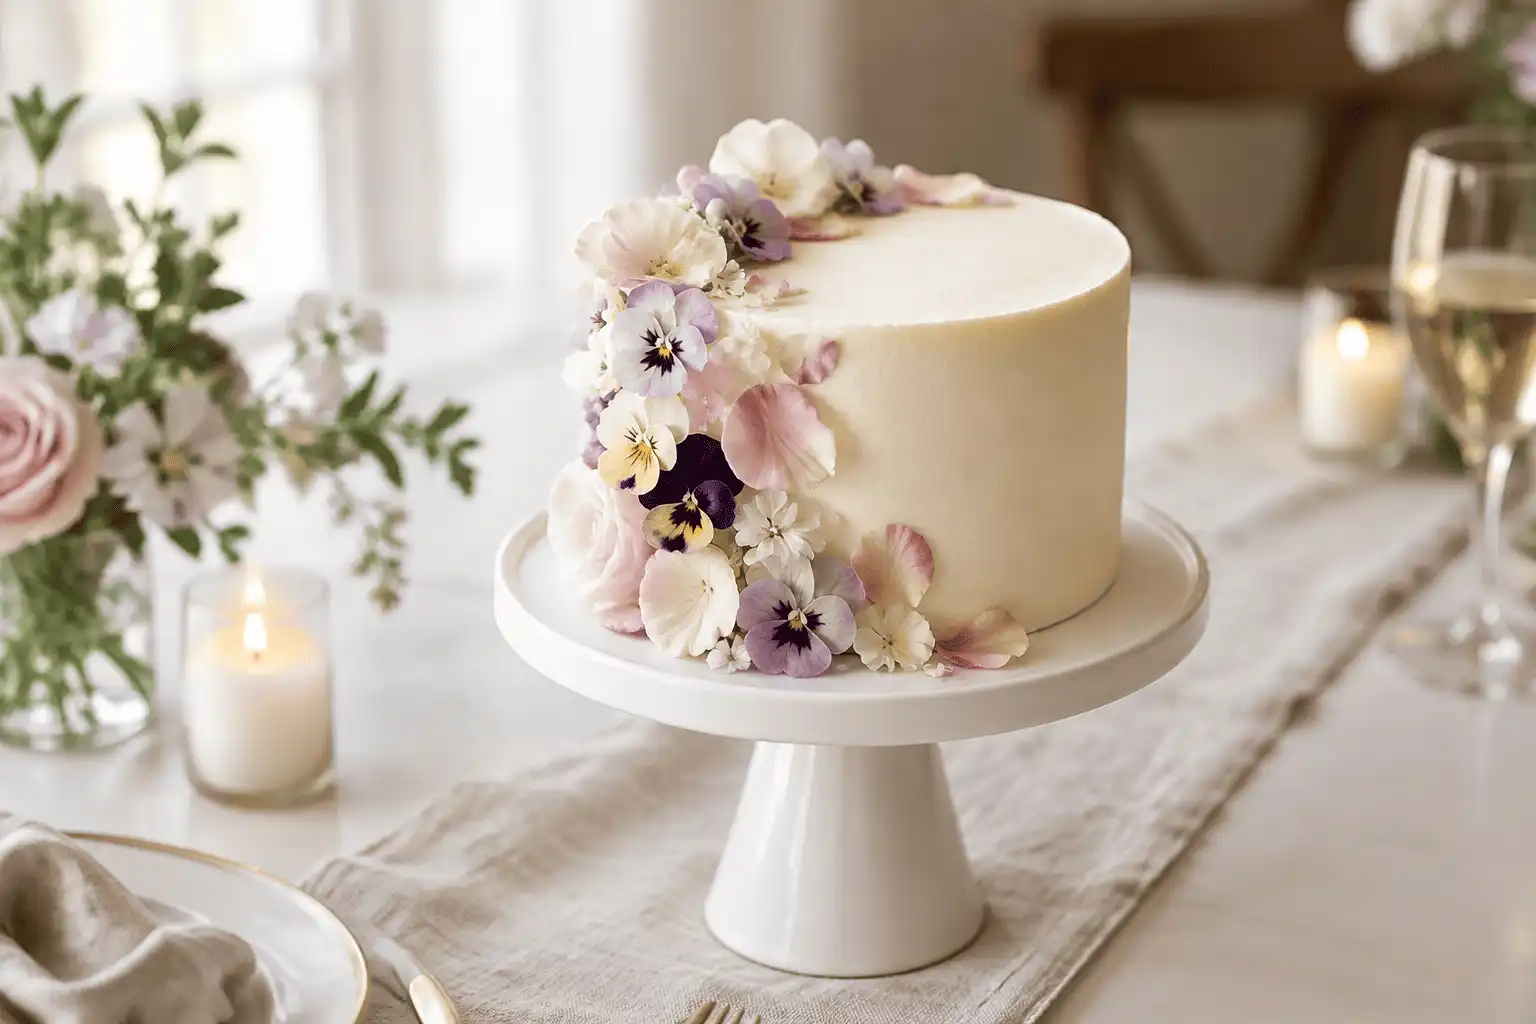
How do you make a small wedding cake feel special?
A small wedding cake feels special when it has intentional proportions, clean frosting, a flavorful filling, and one beautiful focal detail. Instead of trying to imitate a huge reception cake, lean into the intimacy: a smooth buttercream finish, delicate piping, soft color, or fresh edible flowers can make the cake look thoughtful and celebratory.
Small wedding cakes are also easier to personalize. You can bake a favorite flavor, add a meaningful flower color, or serve mini wedding cakes and desserts alongside the main cake. If you are searching for “small wedding cakes near me” for inspiration, notice the details bakeries use most often: height, texture, flowers, and a neat cake stand.
Ingredients for a 6-inch intimate wedding cake
This recipe makes one 6-inch, two-layer cake. It serves about 8 to 12 people, depending on slice size. Use a kitchen scale for the most consistent results, especially for flour, sugar, and butter.
Vanilla cake layers
- 1 1/2 cups all-purpose flour, 180 g
- 1 1/2 teaspoons baking powder, 6 g
- 1/4 teaspoon baking soda, 1 g
- 1/2 teaspoon fine salt, 3 g
- 1/2 cup unsalted butter, softened, 113 g
- 3/4 cup granulated sugar, 150 g
- 2 large eggs, room temperature, about 100 g without shells
- 2 teaspoons pure vanilla extract, 10 ml
- 1/2 cup whole milk, room temperature, 120 ml
- 1/4 cup sour cream, room temperature, 60 g
Vanilla buttercream
- 1 cup unsalted butter, softened, 226 g
- 3 1/2 cups powdered sugar, sifted, 420 g
- 2 tablespoons heavy cream, 30 ml
- 2 teaspoons pure vanilla extract, 10 ml
- 1/4 teaspoon fine salt, 1 g
Filling and decoration
- 1/3 cup seedless raspberry jam, 105 g
- 1/4 cup extra powdered sugar for dusting the work surface or fixing buttercream texture, 30 g
- 12 small edible flowers, such as violas, pansies, or pesticide-free edible rose petals
- 6 small fresh mint leaves, optional, 2 g
- 1 tablespoon white sanding sugar or pearl sprinkles, optional, 12 g
Tools that make the cake easier
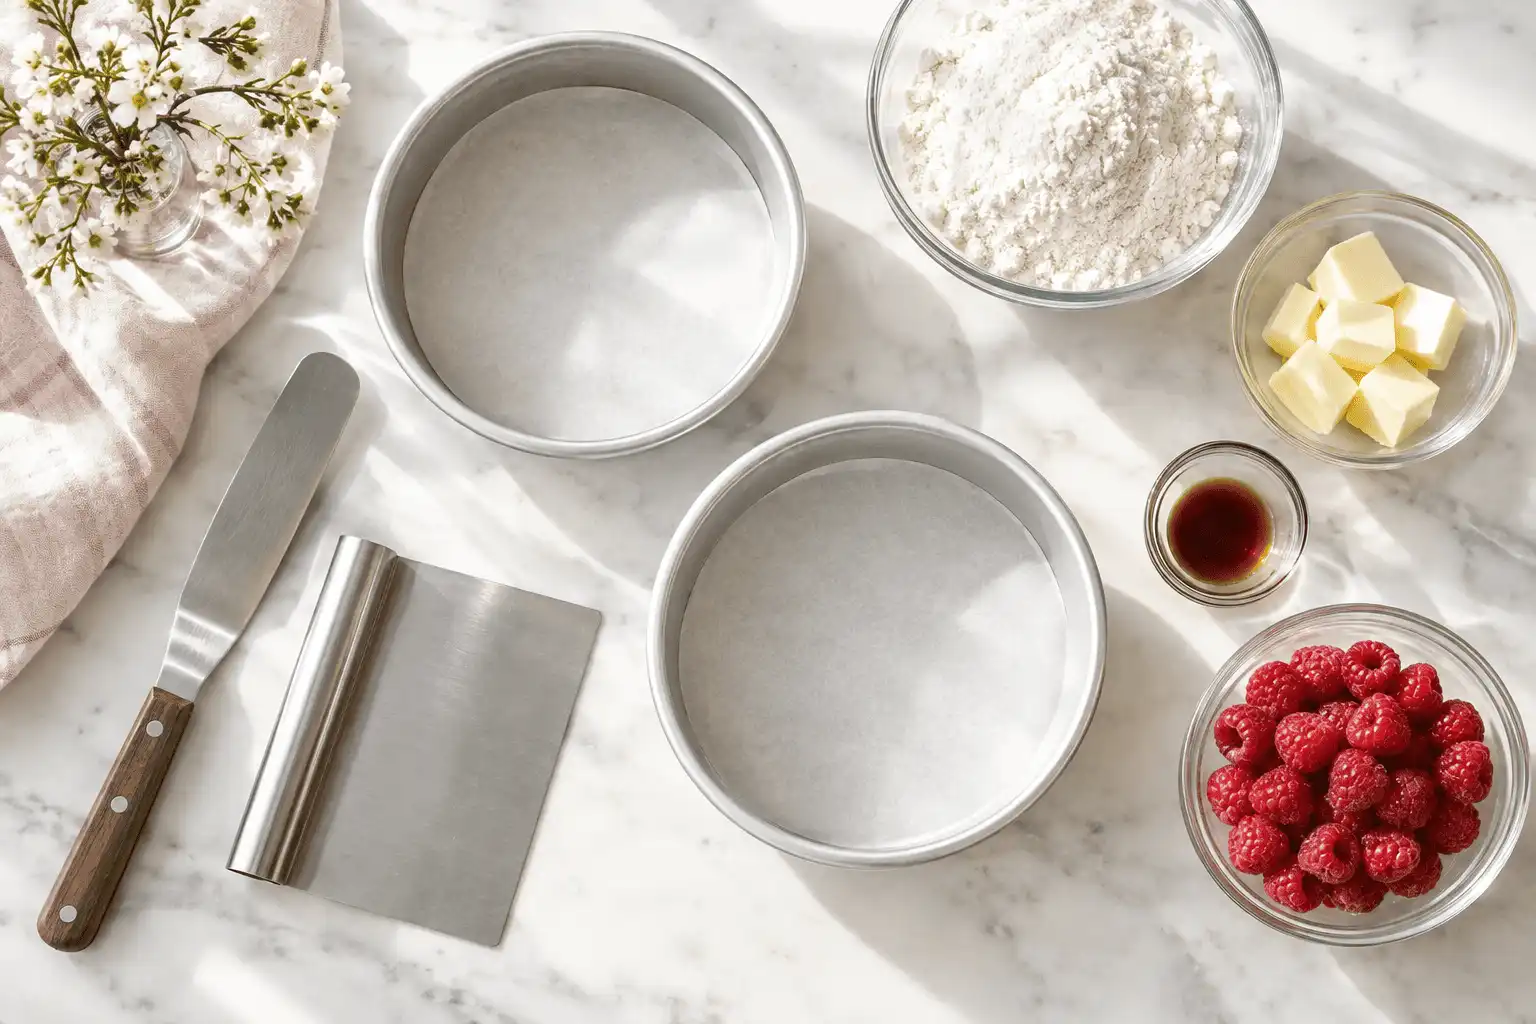
You do not need a professional bakery setup, but a few tools make small wedding cakes much neater. Prepare everything before you start so the baking and decorating process feels calm.
Recommended equipment:
- Two 6-inch round cake pans, at least 2 inches deep
- Parchment paper rounds
- Digital kitchen scale
- Electric hand mixer or stand mixer
- Silicone spatula
- Medium and large mixing bowls
- Fine-mesh sieve for powdered sugar
- Offset spatula
- Bench scraper or icing smoother
- Piping bag with a small round or star tip
- Cake turntable, optional but helpful
- Wire cooling rack
- Toothpick or thin skewer for testing doneness
Step-by-step baking guide
1. Prepare the pans and preheat the oven
Preheat the oven to 350°F. Grease two 6-inch round cake pans, line the bottoms with parchment paper, and lightly grease the parchment. This helps the delicate layers release cleanly, which is important when you want a smooth, professional-looking finish.
Place an oven rack in the center position. If your oven runs hot or has strong heat from one side, rotate the pans halfway through baking. For the neatest small wedding cakes, even layers matter as much as decoration.
2. Combine the dry ingredients
In a medium bowl, whisk together the flour, baking powder, baking soda, and salt. Whisk for at least 20 seconds so the leavening is evenly distributed. This helps the cake rise evenly and prevents pockets of baking powder.
Set the bowl aside. Avoid packing flour into the measuring cup if you are not using a scale. Too much flour can make a small cake taste dry and heavy.
3. Cream the butter and sugar
Add the softened butter and granulated sugar to a large mixing bowl. Beat with an electric mixer on medium speed for 2 to 3 minutes, until the mixture looks pale and fluffy. Scrape down the sides and bottom of the bowl with a silicone spatula.
This step builds structure and lightness. Do not rush it. Proper creaming gives the cake a tender crumb that feels worthy of a wedding table.
4. Add the eggs and vanilla
Add the eggs one at a time, beating well after each addition. Mix in the vanilla extract. The batter may look slightly loose, but it should not appear broken or curdled.
If the eggs are cold, the butter can firm up and create a lumpy batter. Room-temperature ingredients blend more smoothly and bake more evenly.
5. Mix in the milk, sour cream, and dry ingredients
In a small cup, stir the whole milk and sour cream together. Add one-third of the dry ingredients to the butter mixture and mix on low speed. Add half of the milk mixture, then repeat, ending with the final third of dry ingredients.
Mix only until the batter is smooth. Overmixing can make the cake tough. Finish with a silicone spatula to make sure no dry flour remains at the bottom of the bowl.
6. Divide and bake the cake layers
Divide the batter evenly between the two prepared pans. A kitchen scale is useful here: weigh the filled pans and adjust until both hold the same amount of batter. Smooth the tops with an offset spatula.
Bake for 24 to 29 minutes. The cakes are done when the tops spring back lightly, the edges begin to pull from the pans, and a toothpick inserted into the center comes out clean or with a few moist crumbs.
7. Cool the layers completely
Let the cakes cool in their pans for 10 minutes. Run a thin knife around the edge, then turn each layer onto a wire rack. Peel off the parchment and let the layers cool completely before frosting.
Do not frost warm cake. Even slightly warm layers can melt buttercream and cause sliding. If you want cleaner stacking, chill the cooled layers for 20 to 30 minutes.
8. Make the vanilla buttercream
Beat the softened butter on medium speed for 2 minutes, until creamy and pale. Add the sifted powdered sugar one cup at a time, mixing on low speed first so it does not puff out of the bowl. Add the heavy cream, vanilla, and salt.
Increase to medium speed and beat for 2 to 3 minutes. The buttercream should be smooth, spreadable, and able to hold soft peaks. If it is too stiff, add 1 teaspoon of cream at a time. If it is too loose, add 1 tablespoon of the extra powdered sugar at a time.
9. Fill and stack the cake
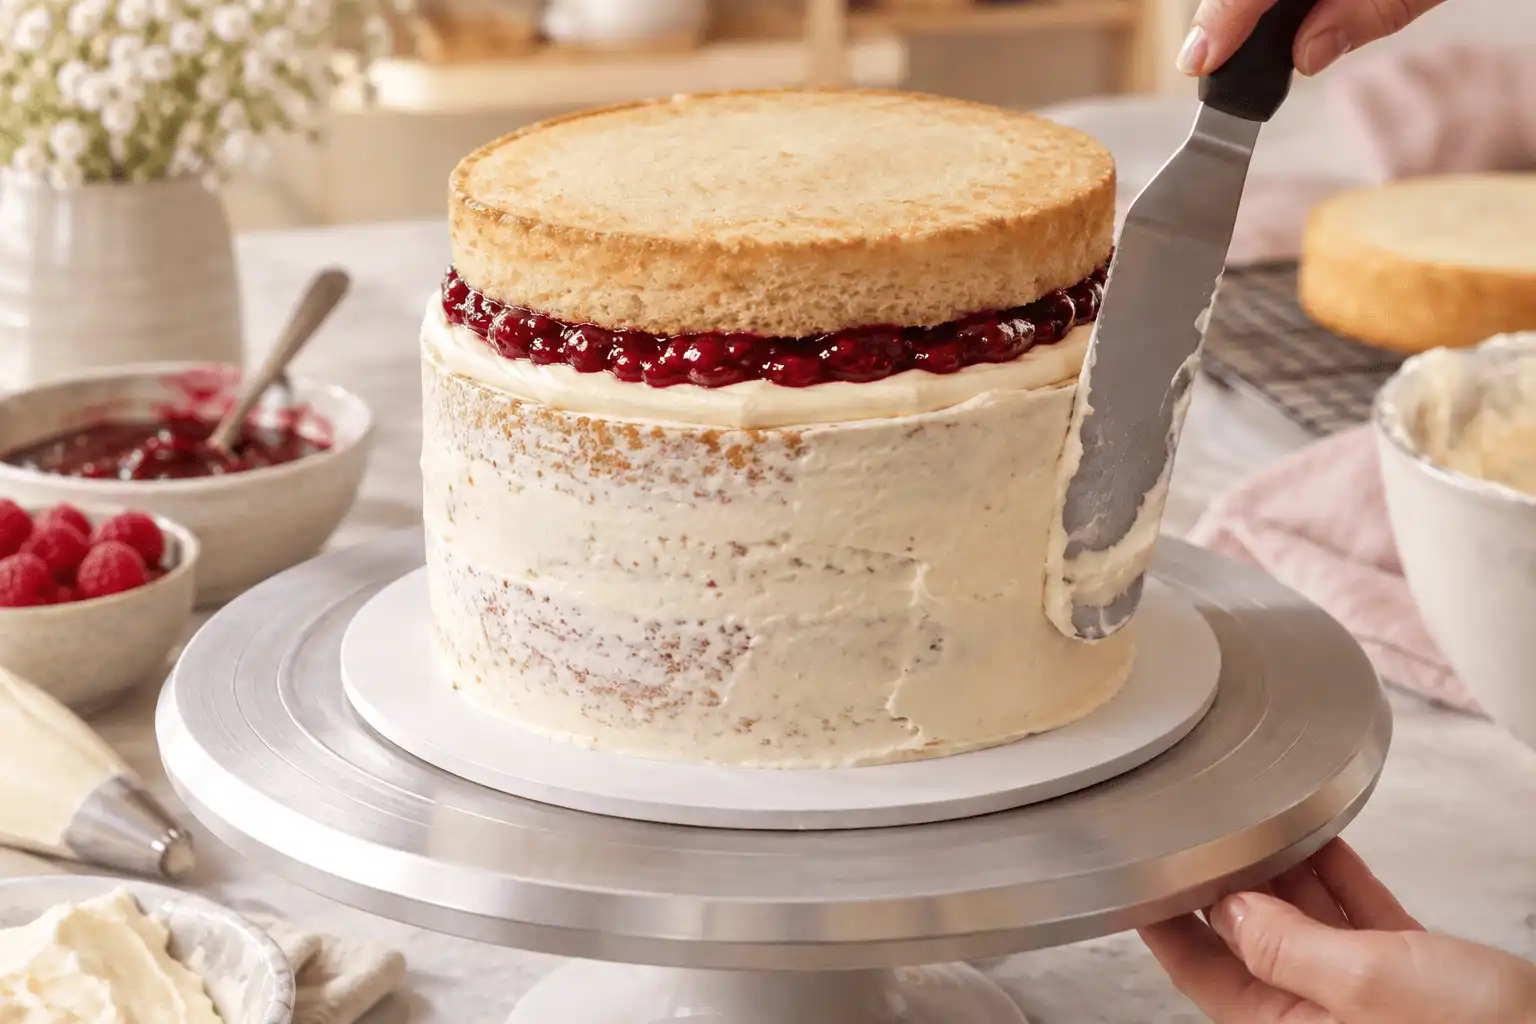
Place one cake layer on a cake board or serving plate. Spread a thin layer of buttercream over the top, then pipe a ring of buttercream around the edge using a piping bag. Spoon the raspberry jam inside the ring and spread it evenly.
Place the second layer on top, flat side up if possible. Press gently to secure it. The buttercream ring keeps the jam from leaking into the outer frosting.
10. Apply the crumb coat
Spread a thin layer of buttercream over the entire cake. This is the crumb coat, and it traps loose crumbs before the final finish. Use an offset spatula for the top and a bench scraper for the sides.
Chill the cake for 20 to 30 minutes, or until the buttercream feels firm to the touch. This small pause makes the final coat easier and cleaner.
11. Add the final buttercream coat
Apply a thicker layer of buttercream over the chilled cake. Smooth the sides with a bench scraper while turning the cake slowly. Smooth the top with an offset spatula, pulling excess buttercream toward the center.
For a rustic look, create soft swoops instead of a perfectly smooth finish. Both styles work well for small wedding cakes with flowers. The best choice depends on your table setting and the mood of the celebration.
12. Decorate with flowers and finishing details
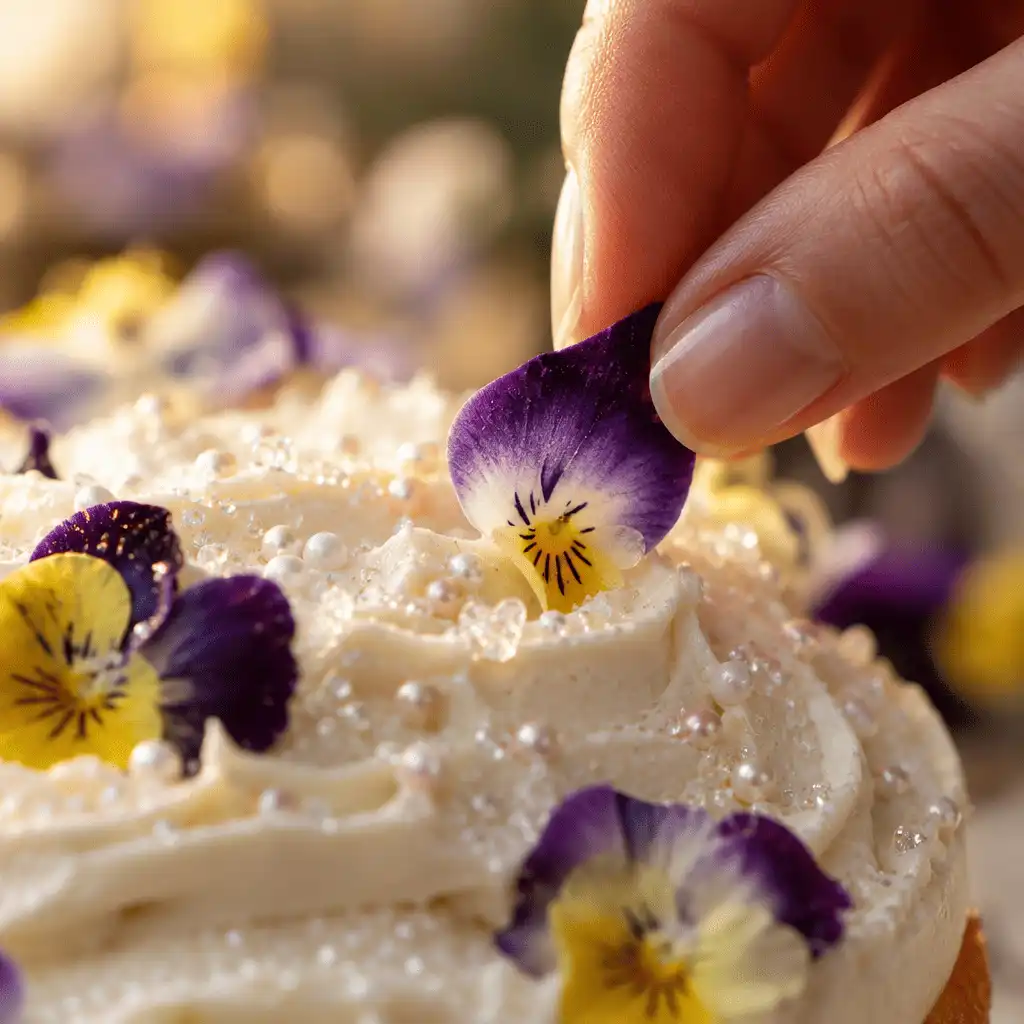
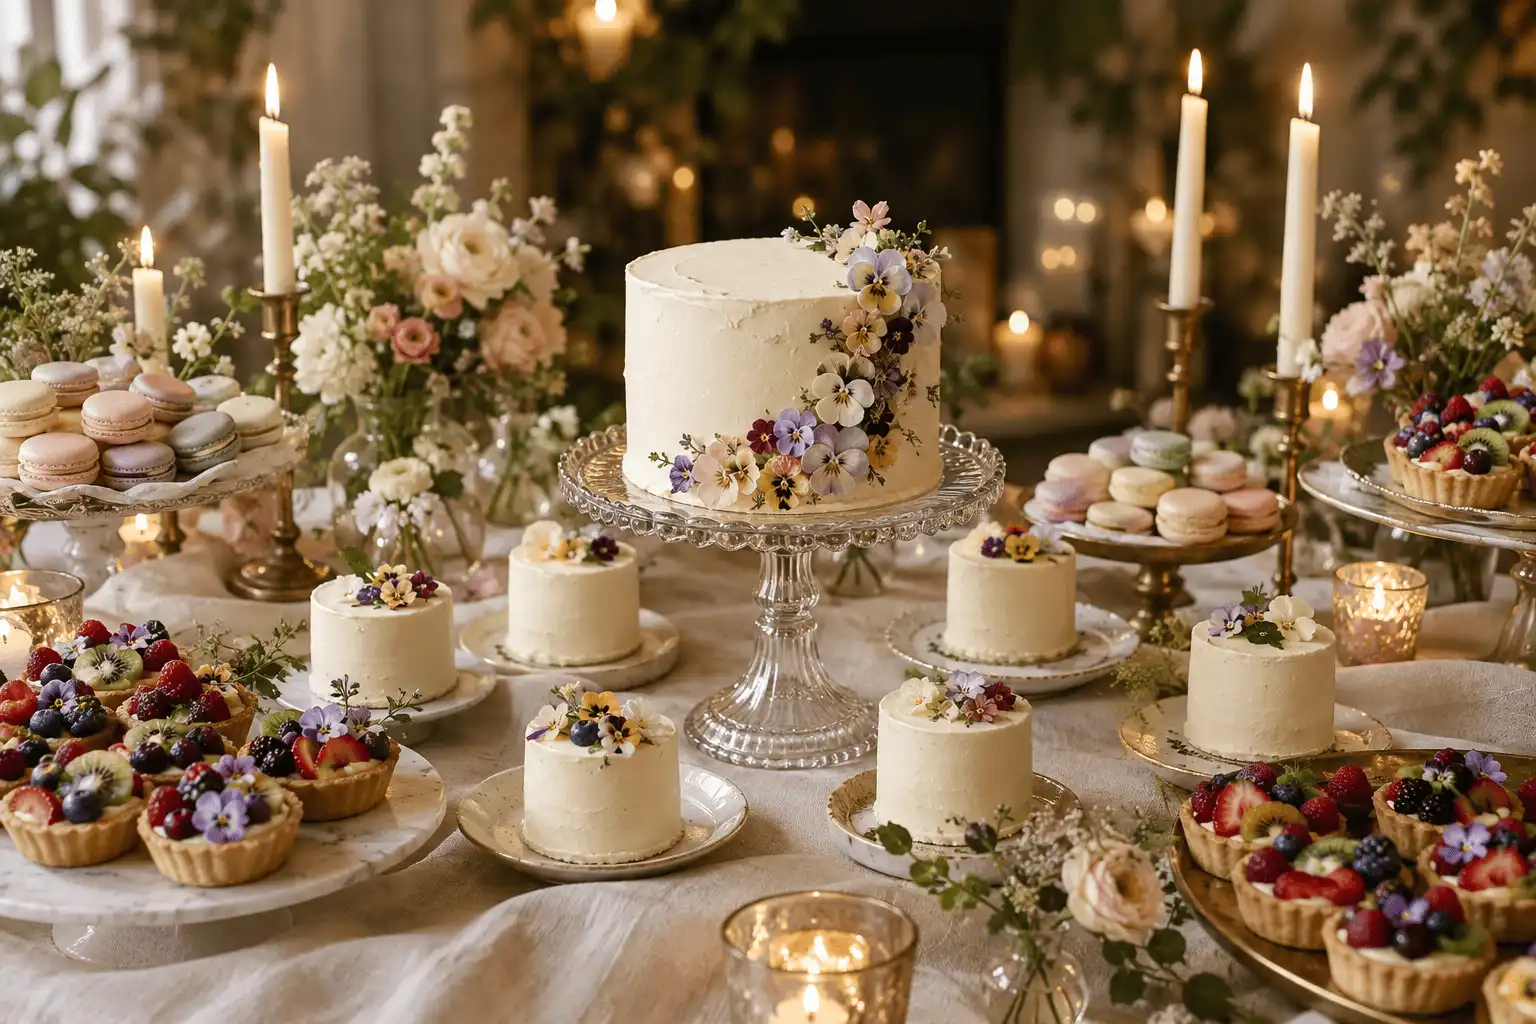
Place edible flowers in a small crescent shape on one side of the cake, or cluster them at the top edge for a garden-style look. Add mint leaves sparingly so the flowers remain the focus. Sprinkle sanding sugar or pearl sprinkles around the base if you want subtle shine.
If using fresh flowers that are decorative but not edible, keep stems out of the cake and use food-safe floral picks. Never push unknown flower stems directly into frosting. For food safety, choose edible flowers or consult a florist who understands cake decoration.
Professional baking tips and tricks
Small cakes show details clearly, so small technique choices matter. These tips help you avoid dry layers, uneven frosting, and last-minute stress.
- Check your oven temperature. An oven thermometer is helpful because home ovens can run hotter or cooler than the dial suggests. Bake at 350°F unless your oven browns cakes quickly; in that case, reduce to 325°F and bake a few minutes longer.
- Use room-temperature ingredients. Butter, eggs, milk, and sour cream blend better when they are not cold. This gives the cake a finer crumb.
- Test doneness in the center. The cake is done when a toothpick comes out clean or with a few moist crumbs. Wet batter means it needs more time.
- Cool before wrapping. If baking ahead, let layers cool completely, then wrap tightly in plastic wrap. Warm cake wrapped too soon can trap steam and become sticky.
- Chill before frosting. Cold layers are easier to stack and crumb coat. They are less likely to tear under the spatula.
- Store finished cake safely. Keep the frosted cake covered in the refrigerator for up to 2 days. Let it sit at room temperature for 45 to 60 minutes before serving so the buttercream softens.
- Add flowers close to serving time. Edible flowers look freshest when placed the same day. Keep them chilled and dry until decorating.
Design ideas for intimate celebrations
Once you understand the basic method, you can adapt the look to suit the event. A one-tier cake is often the easiest choice, but it does not have to look plain.
Try one of these simple styles:
- Classic white: Smooth vanilla buttercream, pearl sprinkles, and a few white edible flowers.
- Garden romantic: Soft swoops of buttercream with pastel flowers along one side.
- Modern minimal: A sharp smooth finish with one statement bloom on top.
- Tiny dessert table: A small cutting cake served with mini wedding cakes, cookies, or fruit tarts.
- Tall petite cake: Bake three thinner 6-inch layers for extra height while keeping the footprint small.
If you love the look of small three tier wedding cakes but do not need that much cake, create the impression with a dessert stand. Place the 6-inch cake on the top tier and arrange cupcakes, macarons, or mini wedding cakes on the lower tiers. This gives height and drama without requiring a large stacked cake.
What if you want wedding cake alternatives?
Wedding cake alternatives are a smart choice when you want variety, easier serving, or a less formal dessert table. You can still keep one small cake for the ceremonial cutting moment, then offer other sweets beside it.
Good pairings include:
- Mini wedding cakes for each guest or each table
- Cupcakes with matching buttercream flowers
- Lemon bars, brownies, or shortbread cookies
- Individual cheesecakes or panna cotta cups
- A fruit tart beside the small cake
- Donuts displayed on a tiered stand
This approach works especially well for intimate celebrations because guests can choose what they like. It also helps if your guest list includes different flavor preferences.
Serving and presentation checklist
Before the celebration begins, set up the cake area with the same care you gave the baking. Even a modest cake looks elevated when the presentation is tidy.
Use this checklist:
- Choose a cake stand that is wider than the cake by at least 2 inches.
- Place the cake away from direct sunlight, heaters, and warm windows.
- Keep a sharp knife, small serving spatula, and dessert plates nearby.
- Add a simple linen, candle, or floral accent around the stand.
- Take photos before slicing, especially if using fresh flowers.
- Slice with a clean knife, wiping between cuts for neat servings.
If you are comparing homemade small wedding cakes with bakery options found through “small wedding cakes near me,” think about time as well as cost. Baking your own cake can be meaningful and personal, but you should practice at least once before the event. A trial run helps you test the flavor, timing, tools, and decoration style.
Make-ahead timeline
A calm timeline is the secret to a beautiful homemade wedding cake. Do not leave every step for the day of the celebration.
Two days before
Bake the cake layers. Cool them fully, wrap them tightly, and refrigerate. Make sure the flowers, stand, piping bags, and serving tools are ready.
One day before
Make the buttercream, fill the cake, crumb coat it, and apply the final frosting. Store the cake covered in the refrigerator. Keep it away from strong-smelling foods.
Day of serving
Add edible flowers and final decorations. Let the cake come to room temperature before slicing. Set it on the cake stand shortly before guests arrive.
Final finishing notes
Small wedding cakes prove that celebration does not require excess. With tender vanilla layers, raspberry filling, smooth buttercream, and a few carefully placed flowers, a petite cake can become the centerpiece of an intimate table.
Use this recipe as your base, then personalize the details. Whether you serve one small cake, add mini wedding cakes, or build a dessert table with wedding cake alternatives, the goal is the same: a beautiful sweet moment that feels right for the people gathered around it.